
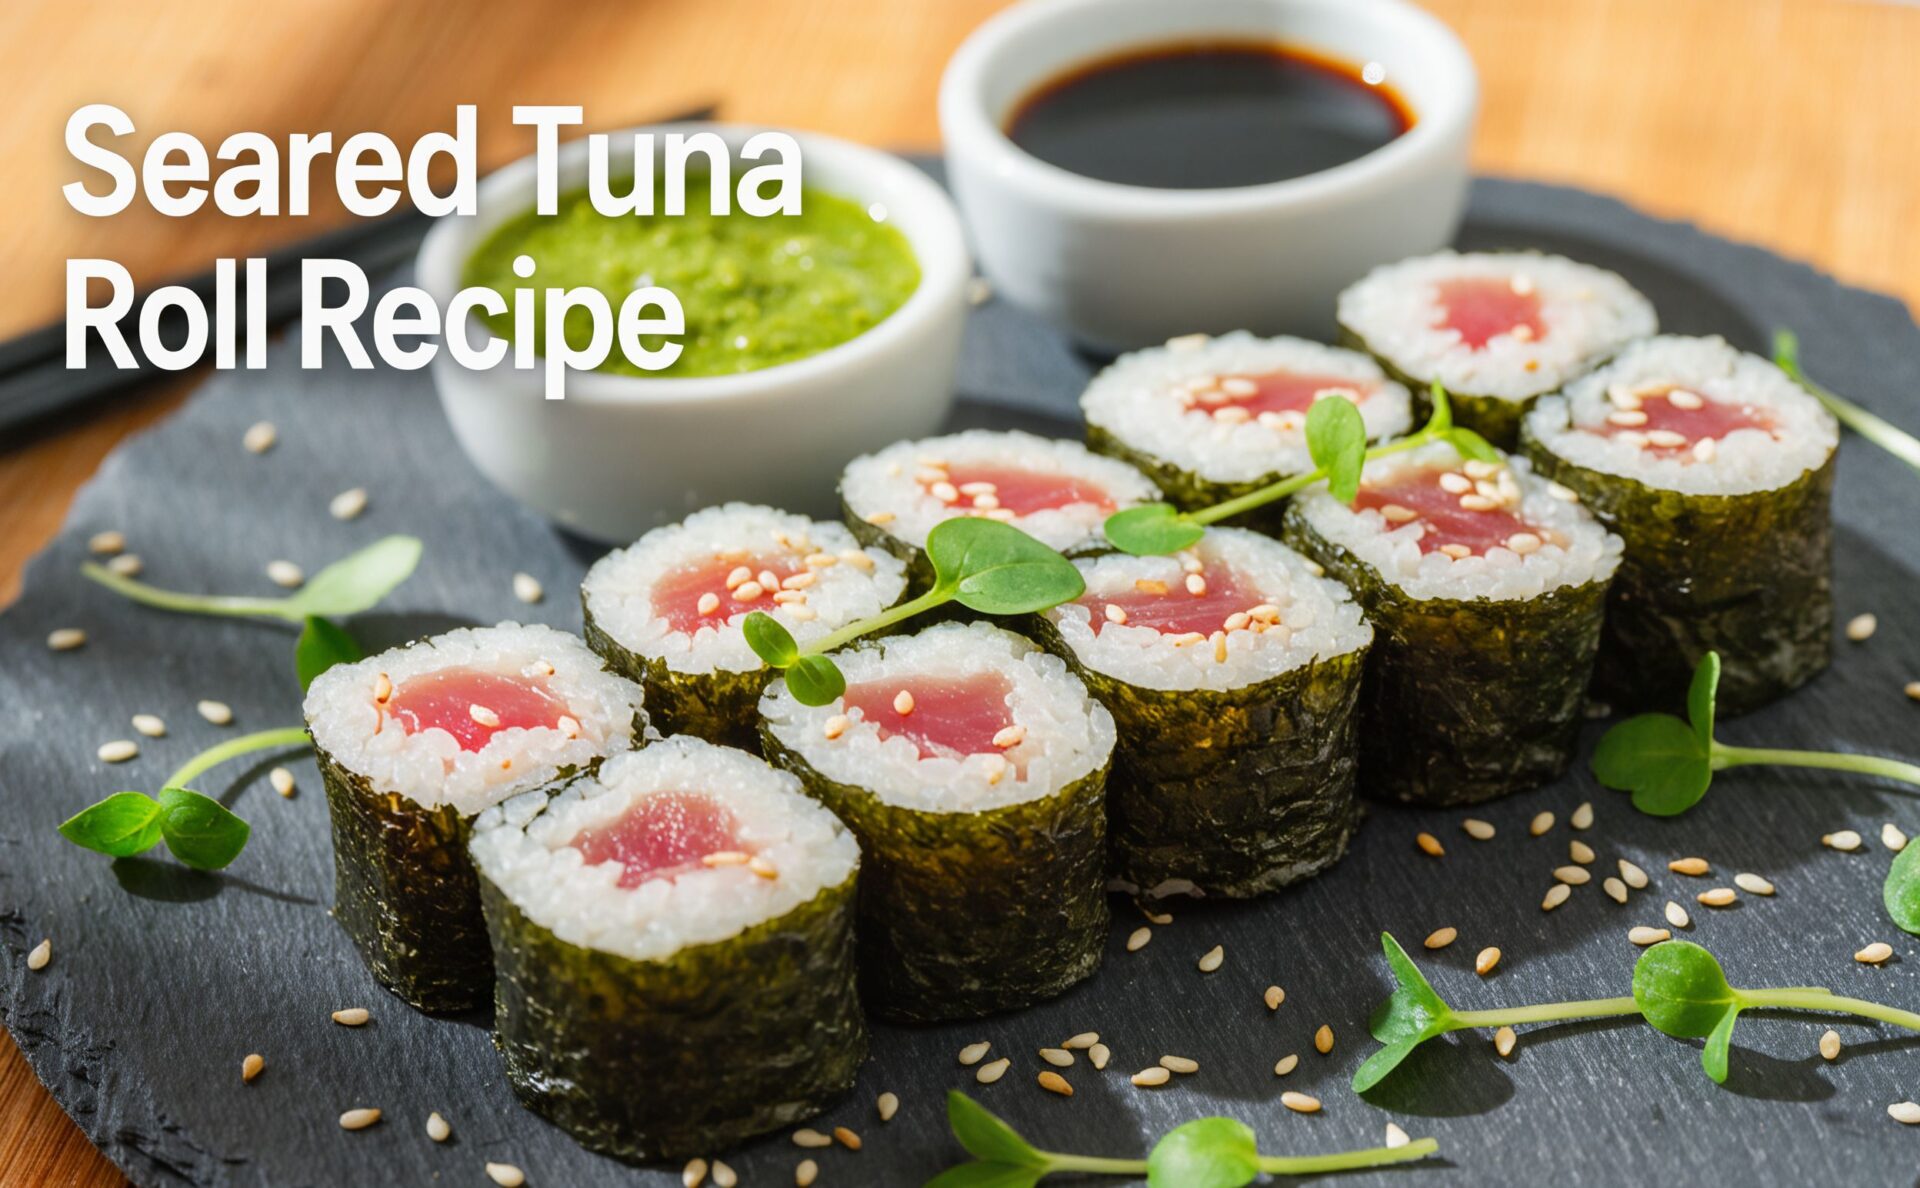
Creating restaurant-quality seared tuna roll with basil aioli recipe at home is easier than you think. This elegant sushi dish combines perfectly seared tuna with creamy, herb-infused basil aioli for a flavor combination that will impress your family and guests. You’ll have restaurant-worthy sushi rolls ready in just 45 minutes using simple techniques and quality ingredients.
What Makes This Seared Tuna Roll Recipe Successful
The Key to Flawless Seared Tuna Rolls
The key to exceptional seared tuna sushi roll recipe lies in three critical elements: using sushi-grade tuna, achieving the perfect sear without overcooking, and balancing flavors with homemade basil aioli. Unlike many recipes that rush through important details, this method ensures your tuna stays beautifully pink in the center while developing a golden crust that adds incredible texture contrast.
What Sets This Recipe Apart
This seared tuna roll recipe stands out because it combines traditional Japanese sushi techniques with Mediterranean flavors through the basil aioli. The result is a fusion dish that feels both familiar and sophisticated. The basil aioli adds richness without overwhelming the delicate tuna flavor, while the perfectly seasoned sushi rice provides the ideal foundation for these premium ingredients.
Ingredients You’ll Need
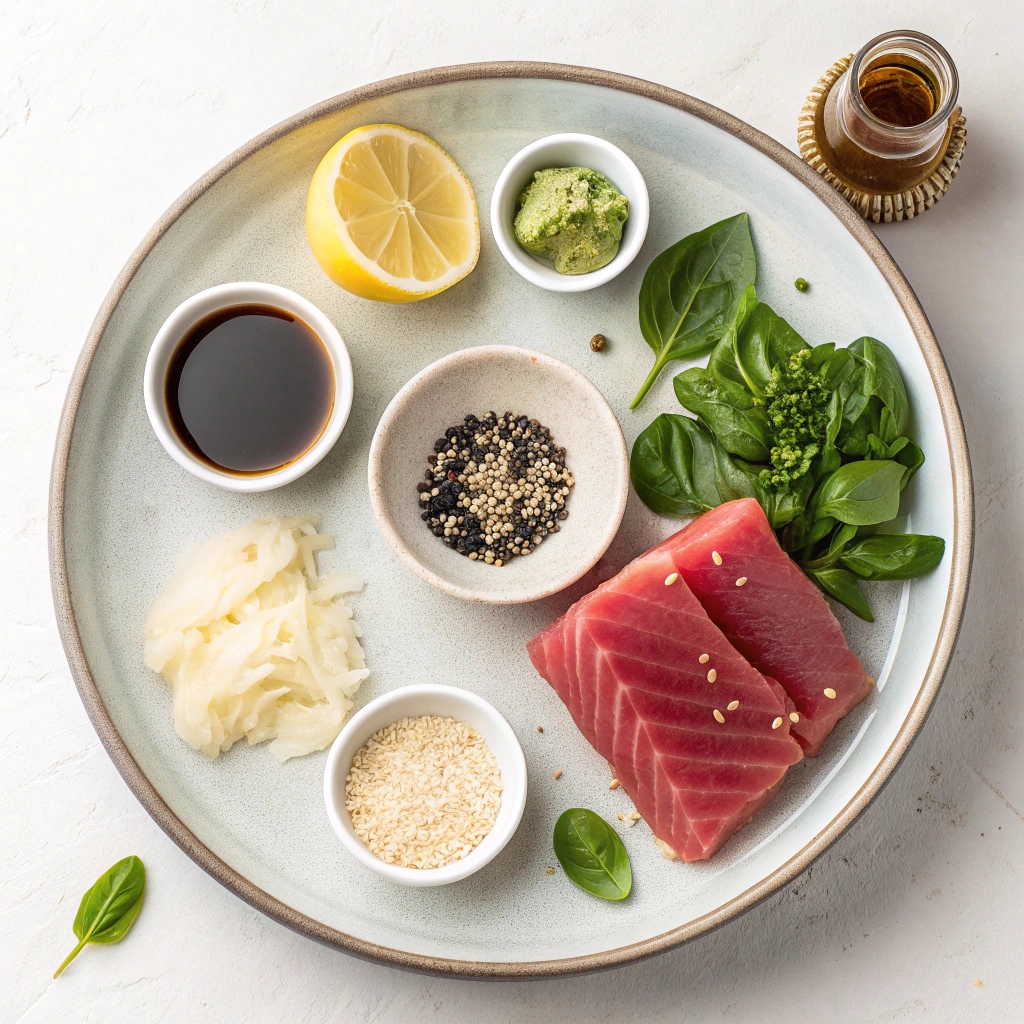
Core Ingredients
For the Seared Tuna:
- 6 oz sushi-grade yellowfin or bigeye tuna (thick steaks work best for even searing)
- 2 tablespoons sesame oil (adds nutty flavor and high smoke point)
- 1 teaspoon coarse sea salt (creates beautiful crust)
- ½ teaspoon freshly cracked black pepper (essential for flavor depth)
- 1 tablespoon toasted sesame seeds (adds texture and visual appeal)
For the Basil Aioli:
- ½ cup high-quality mayonnaise (provides creamy base)
- 2 teaspoons wasabi paste (adds authentic heat)
- 1 small garlic clove, minced (enhances overall flavor)
- 1 tablespoon extra-virgin olive oil (helps blend ingredients)
- ¼ cup fresh basil leaves, blanched and chopped (the star ingredient)
- 2 tablespoons fresh spinach leaves, blanched (adds color and nutrients)
- Pinch of sea salt
For Assembly:
- 2 cups prepared sushi rice, cooled (foundation of great sushi)
- 2 sheets nori seaweed, halved (provides structure and umami)
- 1 large avocado, sliced thin (adds creaminess)
- ½ English cucumber, julienned (provides fresh crunch)
- Additional sesame seeds for garnish
Kitchen Essentials
You’ll also need rice vinegar for the sushi rice, soy sauce for serving, and pickled ginger as a traditional accompaniment. Having these staples on hand makes sushi night possible anytime.
Smart Ingredient Swaps That Actually Work
Tuna alternatives: If sushi-grade tuna isn’t available, you can substitute salmon, but never use regular grocery store fish for raw consumption. Always verify “sushi-grade” or “sashimi-grade” labeling.
Basil aioli variations: Replace basil with cilantro for an Asian-fusion twist, or use traditional mayo with wasabi if you prefer simpler flavors. Greek yogurt can substitute mayo for a lighter version, though the texture will be thinner.
Nori substitutions: Soy paper provides a milder taste if you’re not fond of seaweed, though it changes the traditional experience.
Essential Equipment
You don’t need expensive equipment to make exceptional seared tuna sushi. A bamboo sushi mat makes rolling easier, but parchment paper works as a substitute. Use a sharp, non-serrated knife for clean cuts, and have a cast-iron skillet ready for the perfect sear. A small food processor or immersion blender helps create silky-smooth basil aioli.
Step-by-Step Instructions
Prep Work Steps
Make the basil aioli first (10 minutes): Blanch basil and spinach leaves in boiling water for 30 seconds, then immediately plunge into ice water. Squeeze out excess water and chop roughly. In a food processor, combine mayonnaise, wasabi, garlic, olive oil, blanched herbs, and salt. Blend until completely smooth and vibrant green. Refrigerate while preparing other components.
Prepare sushi rice (30 minutes): If not already prepared, cook sushi rice according to package directions and season with rice vinegar mixture. Let cool to room temperature before using. Proper temperature is crucial – hot rice will melt ingredients and make rolling difficult.
The Cooking Method
Sear the tuna (3 minutes): Remove tuna from refrigeration 15 minutes before cooking to bring closer to room temperature. Pat completely dry with paper towels – any moisture prevents proper searing. Season generously with salt and pepper, then press sesame seeds into both sides.
Heat cast-iron skillet over medium-high heat until you see wisps of smoke. Add sesame oil and immediately place tuna in pan. Sear exactly 1 minute per side without moving the fish. You’ll see a golden-brown crust form around the edges while the center remains pink. The cooked portion should extend about ⅛ inch into the tuna.
Transfer to cutting board and let rest 3 minutes before slicing into ¼-inch strips. The tuna should be beautifully golden outside with a ruby-red center.
Signs of Perfect Doneness
Perfect seared tuna feels firm on the outside but yields slightly to pressure in the center. The color should transition from golden-brown crust to pink interior without any gray areas. If you see gray, the tuna has cooked too long – still delicious, just not the traditional preparation.
Pro Chef Tips for Success
Frequent Errors and How to Avoid Them
Mistake 1: Using wet tuna or cold pan. Solution: Pat tuna completely dry and ensure your pan is smoking hot before adding oil.
Mistake 2: Moving the tuna while searing. Solution: Place and leave untouched for exactly 60 seconds per side.
Mistake 3: Using warm rice for rolling. Solution: Always let sushi rice cool to room temperature to prevent melting other ingredients.
Mistake 4: Overfilling rolls. Solution: Less is more – use thin layers of each ingredient for easier rolling and better proportions.
Mistake 5: Using dull knife for cutting. Solution: Always use a sharp, clean knife and wipe between cuts for clean slices.
Advance Prep and Scaling Instructions
The basil aioli improves after 2-4 hours of chilling, making it perfect for advance preparation. Sushi rice can be prepared a day ahead and stored covered at room temperature. However, never sear tuna more than 2 hours before serving, as it’s best enjoyed fresh.
To scale the recipe, multiply ingredients proportionally. One pound of tuna typically yields 6-8 substantial rolls, perfect for entertaining. Keep ratios consistent for best results.
Problem-Solving Guide
Aioli too thin? Add more mayonnaise gradually until desired consistency is reached. Too thick? Add olive oil one teaspoon at a time.
Rice sticking to hands? Keep a bowl of warm water nearby and wet hands frequently during rolling.
Rolls falling apart? Ensure nori shiny side is down, don’t overfill, and use bamboo mat to apply gentle, even pressure while rolling.
Tuna overcooked? Still delicious, just slice thinner and focus on the excellent flavors you’ve created.
Storage and Reheating
Store completed sushi rolls covered in refrigerator for maximum 24 hours, though they’re best enjoyed immediately. The basil aioli keeps well for up to 5 days refrigerated in an airtight container.
Never freeze completed sushi rolls, as the texture of both rice and vegetables deteriorates significantly. Individual components can be prepared ahead, but final assembly should happen close to serving time for optimal texture and food safety.
Recipe Variations
Special Diet Modifications
Gluten-free version: Ensure your soy sauce and wasabi are gluten-free certified. Most other ingredients are naturally gluten-free.
Lower-sodium option: Reduce salt in tuna seasoning and use low-sodium soy sauce for serving.
Dairy-free basil aioli: Most mayonnaise is naturally dairy-free, but verify your brand if this is a concern.
Seasonal Recipe Changes
Spring variation: Add thin asparagus spears or pea shoots for fresh, seasonal crunch.
Summer abundance: Include thinly sliced radishes or yellow bell peppers for extra color and flavor.
Fall twist: Try adding thin slices of crisp apple for unexpected sweetness that pairs beautifully with tuna.
Global Flavor Adaptations
Mediterranean style: Replace wasabi in aioli with lemon zest and add sun-dried tomatoes to the roll.
Latin fusion: Use cilantro-lime aioli and add thin slices of jalapeño for heat.
Korean-inspired: Add kimchi and use gochujang-spiked aioli for bold, fermented flavors.
Nutritional Benefits
This seared tuna roll provides exceptional nutritional value with approximately 285 calories per 6-piece serving. Tuna delivers high-quality protein (24g per serving) and omega-3 fatty acids crucial for heart and brain health. The combination provides essential amino acids while remaining relatively low in saturated fat.
Nori seaweed contributes iodine, important for thyroid function, while avocado provides healthy monounsaturated fats and fiber. Fresh basil contains antioxidants and may help reduce inflammation. The balanced macronutrients make this an excellent choice for active individuals seeking nutritious, satisfying meals.
Perfect Pairings
Serve these elegant seared tuna sushi rolls with traditional accompaniments like pickled ginger, wasabi, and premium soy sauce. Miso soup makes an excellent starter, while edamame provides additional protein and fiber.
For beverage pairings, consider sake, crisp white wines like Sauvignon Blanc, or Japanese beer. Green tea provides a traditional, palate-cleansing finish to the meal.
Frequently Asked Questions
Is it possible to make this without raw fish?
While traditional seared tuna is the star, you can substitute fully-cooked alternatives like grilled tuna or even smoked salmon. The technique changes, but the flavors remain delicious.
How can I verify if my tuna is sushi-grade?
Purchase from reputable fishmongers who specifically label fish as “sushi-grade” or “sashimi-grade.” This indicates proper handling and freezing protocols for safe raw consumption.
Is advance preparation of the rolls possible?
While components can be prepped ahead, assembled rolls are best enjoyed within 2-4 hours for optimal texture and food safety. The rice tends to harden when refrigerated too long.
What alternatives exist if I don’t have a bamboo mat?
Use parchment paper or a clean kitchen towel as alternatives. The key is applying even pressure while rolling to create tight, uniform rolls.
What’s the ideal thickness for slicing the tuna?
Aim for ¼-inch thick slices, cutting against the grain with a sharp knife. Thinner slices distribute better in the roll and provide ideal texture.
Does this recipe work for beginners?
Absolutely! While the technique requires attention to detail, the steps are straightforward. Start with smaller rolls if you’re new to sushi-making, and don’t worry about perfection – homemade sushi is always impressive.
What’s the shelf life of basil aioli?
Fresh basil aioli keeps 5-7 days refrigerated, though color may darken slightly. For best flavor and appearance, use within 2-3 days.
Ready to impress with restaurant-quality sushi at home? This seared tuna roll with basil aioli recipe combines simple techniques with premium ingredients for results that rival your favorite sushi restaurant. The combination of perfectly seared tuna, creamy basil aioli, and fresh vegetables creates a memorable dining experience that’s surprisingly achievable in your own kitchen. Gather your ingredients and discover how satisfying homemade sushi can be!

Seared Tuna Roll with Basil Aioli
Equipment
- Bamboo sushi mat
- Cast-iron skillet
- Sharp chef’s knife
- Small food processor
- large bowl
Ingredients
For the Seared Tuna
- 6 oz sushi-grade yellowfin or bigeye tuna
- 2 tablespoons sesame oil
- 1 teaspoon coarse sea salt
- 1/2 teaspoon freshly cracked black pepper
- 1 tablespoon toasted sesame seeds
For the Basil Aioli
- 1/2 cup high-quality mayonnaise
- 2 teaspoons wasabi paste
- 1 small garlic clove, minced
- 1 tablespoon extra-virgin olive oil
- 1/4 cup fresh basil leaves, blanched and chopped
- 2 tablespoons fresh spinach leaves, blanched
- Pinch of sea salt
For Assembly
- 2 cups prepared sushi rice, cooled
- 2 sheets nori seaweed, halved
- 1 large avocado, sliced thin
- 1/2 English cucumber, julienned
- Additional sesame seeds for garnish
Instructions
- Blanch basil and spinach leaves in boiling water for 30 seconds, then immediately plunge into ice water. Squeeze out excess water and chop roughly. In a food processor, combine mayonnaise, wasabi, garlic, olive oil, blanched herbs, and salt. Blend until completely smooth and vibrant green. Refrigerate while preparing other components.
- Remove tuna from refrigeration 15 minutes before cooking to bring closer to room temperature. Pat completely dry with paper towels. Season generously with salt and pepper, then press sesame seeds into both sides.
- Heat cast-iron skillet over medium-high heat until you see wisps of smoke. Add sesame oil and immediately place tuna in pan. Sear exactly 1 minute per side without moving the fish. The cooked portion should extend about 1/8 inch into the tuna while center remains pink.
- Transfer tuna to cutting board and let rest 3 minutes before slicing into 1/4-inch strips. The tuna should be golden outside with a ruby-red center. Slice against the grain with a sharp knife.
- Place bamboo mat on work surface. Keep a bowl of warm water nearby for wetting hands. Have all ingredients organized and easily accessible for assembly.
- Place half sheet of nori on bamboo mat, glossy side down. With wet hands, spread a thin layer of sushi rice over lower two-thirds of nori, leaving 1-inch border at top. Arrange tuna, avocado, and cucumber in a line across the center of rice.
- Using bamboo mat, lift the edge closest to you and roll over the filling, tucking tightly. Continue rolling while pulling mat away from you. Apply gentle, even pressure to create a tight roll. Seal the edge with a dab of water.
- Using a sharp, clean knife, cut each roll into 6-8 pieces, wiping knife between cuts. Arrange on serving plate and garnish with additional sesame seeds. Serve immediately with basil aioli, soy sauce, and pickled ginger.