

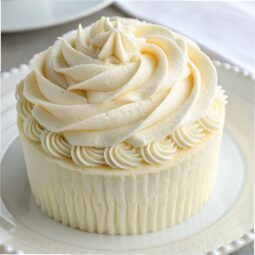
Ermine Frosting is a dreamy, velvety delight that elevates any dessert with its silky smooth texture and rich, buttery flavor. Unlike traditional frostings, this light yet indulgent treat is made with a cooked flour base, giving it a unique, melt-in-your-mouth quality.
Perfect for cakes, cupcakes, or cookies, it’s a versatile topping that’s not overly sweet, making it a crowd-pleaser for all palates. With just 20 minutes of prep and a quick 5-minute cook time, it’s surprisingly simple to whip up, though patience is key as it cools to perfection.
This frosting’s luxurious creaminess pairs beautifully with its subtle vanilla notes, creating a balanced flavor that complements rather than overwhelms. Each serving is a decadent experience, with a rich, smooth finish that feels both elegant and comforting.
Whether you’re a seasoned baker or a beginner, Ermine Frosting is a foolproof way to impress. Plus, its light texture makes it ideal for layering or piping, ensuring your desserts look as stunning as they taste. Ready in under 3 hours, it’s the perfect finishing touch for any sweet creation.
What You’ll Need for Ermine Frosting
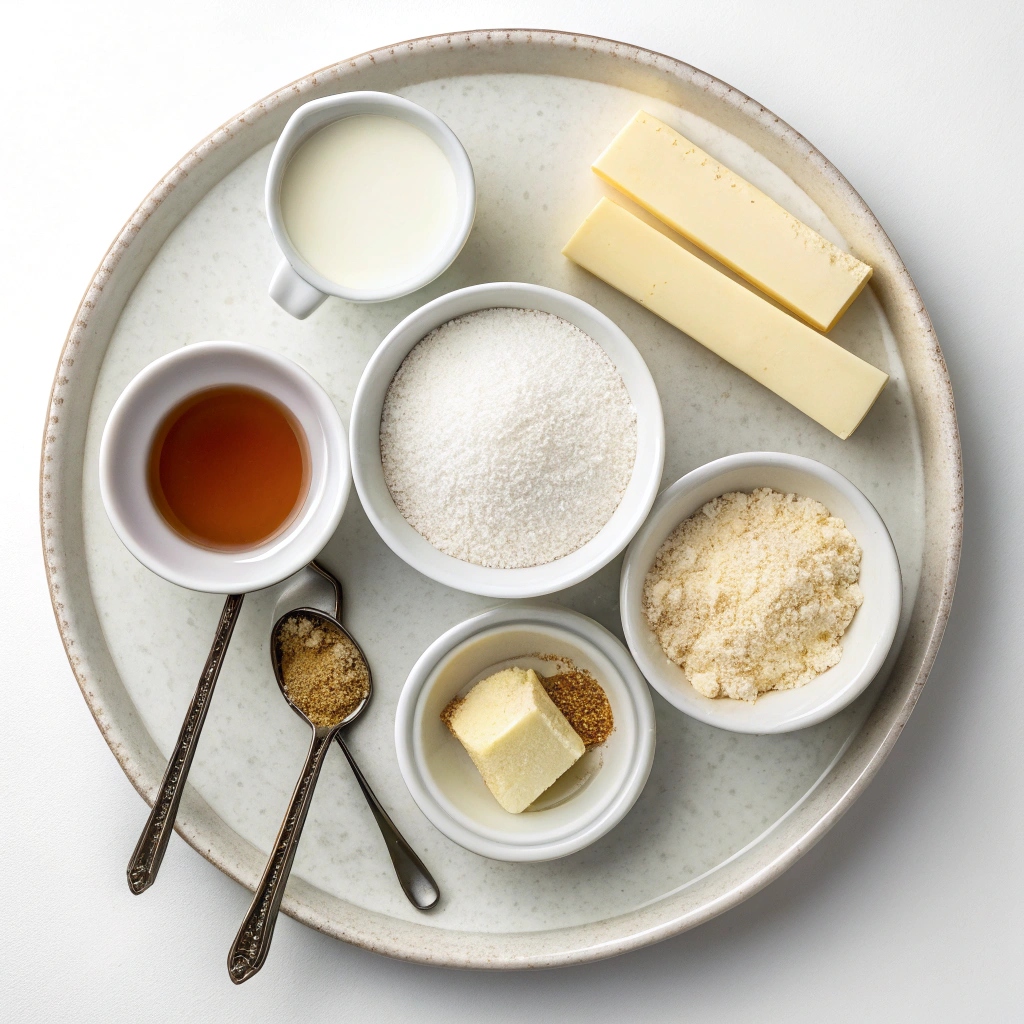
- 1 cup (200 g) granulated sugar
- 5 Tablespoons (40 g) all-purpose flour (plain)
- ¼ teaspoon salt
- 1 cup (236 ml) milk (whole or 2% works best)
- 1 cup (226 g) unsalted butter (softened but not melty)
- 1 teaspoon vanilla extract
How to Make Ermine Frosting
- Combine dry ingredients: In a medium-sized saucepan, whisk together the sugar, flour, and salt until well combined and free of lumps.
- Add milk: Turn the stovetop heat to medium and gradually whisk in the milk until the mixture is smooth.
- Cook until thickened: Continue whisking constantly until the mixture thickens to a pudding-like consistency. Tip: Avoid cranking up the heat to prevent burning and ensure the sugar dissolves properly. The whisk should leave a trail when the mixture is ready.
- Cool the mixture: Remove from heat and pour into a heat-proof container. Cover the surface directly with plastic wrap, wax paper, or parchment paper to prevent a skin from forming. Let it cool completely to room temperature. Note: You can make this mixture 1-2 days in advance and refrigerate it, then bring it to room temperature before proceeding.
- Beat the butter: Using an electric mixer or stand mixer, beat the softened butter on high speed until it’s light and fluffy (this may take several minutes). Scrape the bowl with a spatula as needed.
- Add the flour mixture: Reduce the mixer speed to medium and gradually add the cooled flour mixture, one heaping spoonful at a time. Wait until each spoonful is fully incorporated before adding the next.
- Incorporate vanilla: Scrape the sides and bottom of the bowl with a spatula, then stir in the vanilla extract.
- Whip the frosting: Gradually increase the mixer speed to medium-high and whip the frosting until it’s smooth, light, and airy. It should not appear greasy. Tip: If the frosting splits, refer to the troubleshooting section in the blog post.
- Deflate air bubbles: Use a spatula to gently deflate the frosting, working out any air bubbles. Use as desired for your baked goods!
Perfect Pairings: Serving Suggestions for Ermine Frosting
Ermine frosting is a versatile topping that pairs beautifully with a variety of baked goods. Try it on classic vanilla or chocolate cupcakes for a light and fluffy finish. It’s also a fantastic match for spice cake or red velvet cake, adding a creamy contrast to the rich flavors. For a simple treat, spread it on sugar cookies or use it to fill whoopie pies.
Storage Secrets: Keeping Your Frosting Fresh
Store leftover ermine frosting in an airtight container in the refrigerator for up to 5 days. If it firms up, let it come to room temperature and give it a quick whip with a hand mixer to restore its smooth texture. For longer storage, freeze it in a freezer-safe container for up to 2 months, then thaw and re-whip before use.
Time-Saving Tips for Busy Bakers
To save time, prepare the flour mixture a day or two in advance and store it in the fridge. When you’re ready to frost, simply bring it to room temperature and proceed with the recipe. If you’re short on cooling time, spread the mixture in a thin layer on a plate to speed up the process. Pro tip: Use a stand mixer for the butter whipping step—it’s faster and less hands-on!
Equipment Essentials: Tools for Success
For the smoothest ermine frosting, a stand mixer or hand mixer is a must to achieve that light and airy texture. A heat-proof spatula is handy for scraping the bowl and ensuring all ingredients are well combined. Don’t forget a medium-sized saucepan with a sturdy whisk to cook the flour mixture without lumps.
Recipe Variations: Customize Your Frosting
Add a twist to your ermine frosting by incorporating cocoa powder (2-3 tablespoons) for a chocolate version. For a citrusy flavor, mix in lemon or orange zest (1-2 teaspoons). If you’re feeling adventurous, try a splash of almond or coconut extract instead of vanilla for a unique taste. Get creative and make it your own!
Ermine Frosting
Ingredients
- 1 cup granulated sugar
- 5 Tablespoons all-purpose (plain) flour
- ¼ teaspoon salt
- 1 cup milk ¹
- 1 cup unsalted butter softened but not melty
- 1 teaspoon vanilla extract
Instructions
- Combine sugar, flour, and salt in a medium-sized saucepan and whisk well to combine and remove any lumps from the flour.
- Turn stovetop heat to medium and whisk in milk until mixture is smooth.
- Continue whisking constantly until mixture is thickened to a pudding-like consistency (do not crank up the heat or you’ll burn it and the sugar won’t dissolve properly) and the whisk leaves a trail.
- Remove from heat and pour into a heat-proof container and cover the surface with a piece of plastic wrap, wax paper, or parchment paper pressed directly against the surface (to prevent a skin from forming). Allow to cool completely to room temperature (alternatively you may make this mixture a day or two in advance, store in the refrigerator, then bring to room temperature before proceeding).
- Once flour mixture has cooled, use an electric mixer or stand mixer to beat butter on high speed until it is light and fluffy (this usually takes several minutes, and you may need to scrape the bowl with a spatula).
- Reduce mixer speed to medium and gradually add flour mixture, one heaping spoonful at a time, waiting until each spoonful is incorporated before adding the next and beating until all ingredients are well-combined. Scrape sides and bottom of bowl with a spatula, then stir in vanilla extract.
- Gradually increase speed to medium-high and whip frosting until it is smooth, light, and airy (it should not seem greasy). If you have any difficulty or experience your frosting splitting please see the troubleshooting section in the blog post.
- Use your spatula to deflate the frosting to work out any air bubbles, then use as desired.