
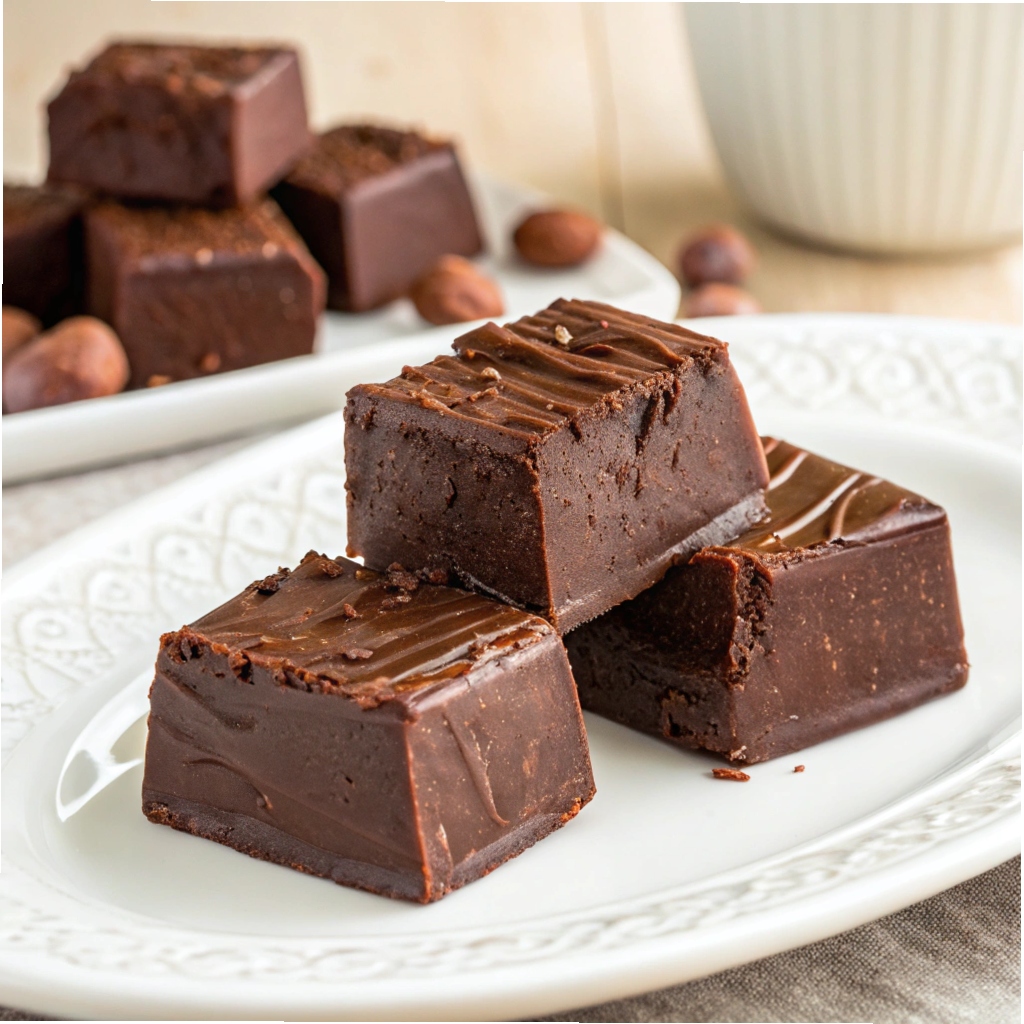
This Best Chocolate Fudge is a dreamy, melt-in-your-mouth treat that’s rich, creamy, and utterly indulgent. With just 25 minutes of prep, you’ll create a dessert that’s perfect for sharing or savoring solo. The velvety texture and deep chocolate flavor are balanced by a hint of sweetness, making each bite irresistible. Let it set for an hour, and you’ll have a batch of 32 decadent pieces ready to delight.
Each piece is a guilt-free pleasure at just 100 calories, offering a satisfying blend of smoothness and richness. Whether you’re gifting it or enjoying it yourself, this fudge is a crowd-pleaser that’s as easy to make as it is delicious. The aroma alone will have everyone eagerly waiting for that first bite.
Ingredients for the Best Chocolate Fudge
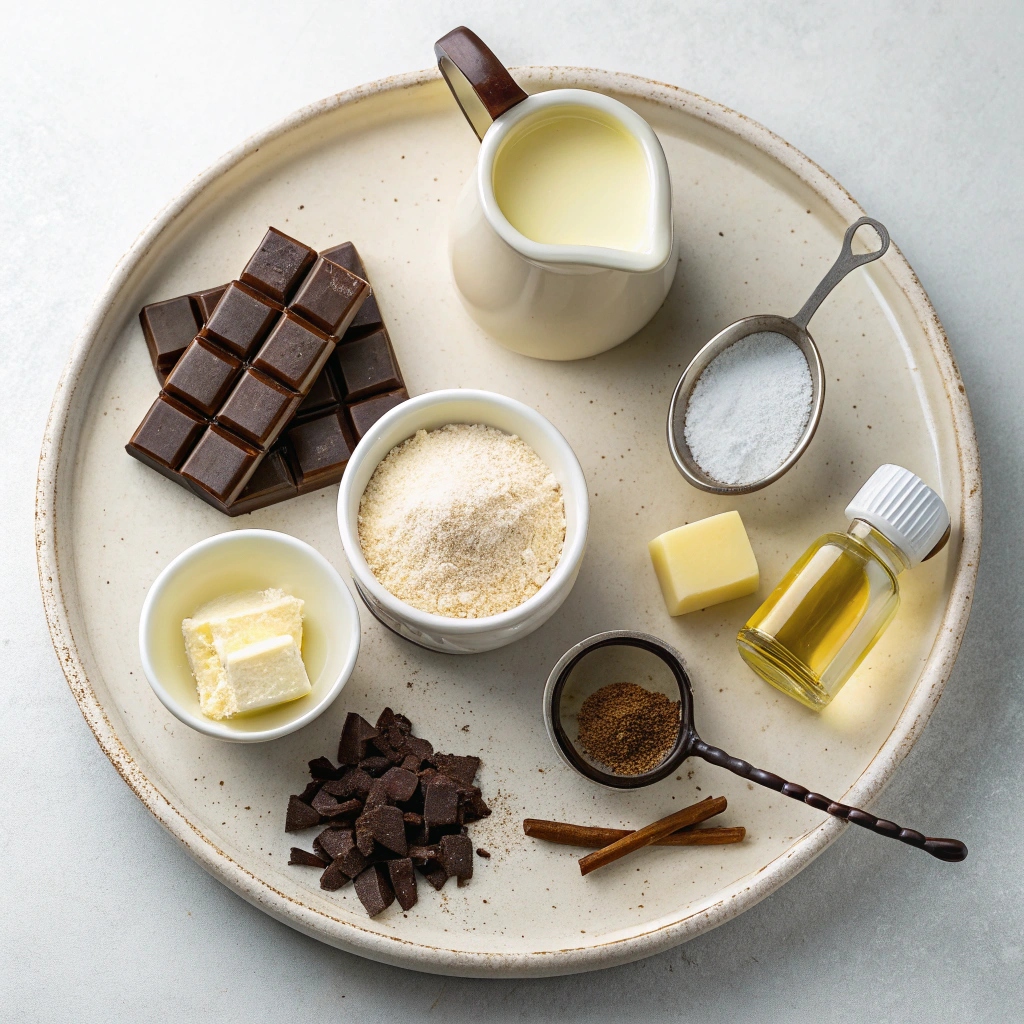
- 3 cups (600 g) granulated sugar
- 1 cup (235 ml) whole milk (for a richer flavor, you can use half-and-half)
- 2 Tablespoons light corn syrup (helps prevent crystallization)
- 2 oz (57 g) unsweetened chocolate, broken into pieces (100% cocoa; substitute with bittersweet chocolate for a sweeter fudge)
- 3 Tablespoons salted butter, room temperature (unsalted butter works too, just add a pinch of salt)
- 1 teaspoon vanilla extract (use pure vanilla for the best flavor)
Step-by-Step Instructions for Perfect Chocolate Fudge
- Prepare the pan: Line a 9×5 loaf pan with parchment paper and set aside. Lightly dampen a pastry brush and keep it near the stove.
- Combine ingredients: In a medium-sized, heavy-bottomed saucepan, combine sugar, milk, corn syrup, and chocolate over medium heat.
- Stir and brush: Using a wooden spoon, stir the mixture constantly. Occasionally brush the sides of the pot with the damp pastry brush to prevent sugar crystals from forming.
- Boil and monitor: Once the mixture begins to boil, attach a candy thermometer to the pot (ensure the bottom of the thermometer isn’t touching the pan). Stir occasionally until the thermometer reads 238°F (soft ball stage).
- Remove from heat: Immediately take the pan off the heat and add the butter and vanilla extract. Do not stir; let the butter melt naturally.
- Cool undisturbed: Leave the mixture untouched until the thermometer reads 110°F. This may take an hour or more.
- Stir vigorously: Using a clean wooden spoon, stir the mixture vigorously until it loses its shiny sheen and thickens. Be careful not to scrape the sides of the pot to avoid grainy fudge.
- Pour and cool: Once thickened, immediately pour the fudge into the prepared pan. Allow it to cool completely before cutting and serving.
Perfect Pairings: Serving Suggestions for Your Fudge
Enhance your chocolate fudge experience by pairing it with a glass of cold milk, a cup of hot coffee, or even a scoop of vanilla ice cream. For a festive touch, sprinkle crushed nuts, sea salt, or festive sprinkles on top before it sets. Pro tip: Cut the fudge into small, bite-sized pieces for a delightful addition to dessert platters or gift boxes.
Keep It Fresh: Storage and Reheating Tips
Store your fudge in an airtight container at room temperature for up to two weeks. For longer storage, wrap it tightly in plastic wrap and freeze for up to three months. To enjoy frozen fudge, let it thaw at room temperature for about an hour. Note: Avoid refrigerating fudge, as it can dry out and lose its creamy texture.
Mix It Up: Recipe Variations to Try
Customize your fudge by adding 1/2 cup of chopped nuts, 1/4 cup of mini marshmallows, or a swirl of peanut butter before pouring it into the pan. For a minty twist, add 1/2 teaspoon peppermint extract instead of vanilla. Feeling adventurous? Swirl in caramel or raspberry jam for a unique flavor combination!
Time-Saving Hacks: Simplify the Process
To speed up the cooling process, place the saucepan in an ice bath after removing it from the heat, but monitor the temperature carefully. Pro tip: Use a stand mixer with a paddle attachment to stir the fudge once it reaches 110°F—this saves arm fatigue and ensures even mixing. Just avoid scraping the sides to prevent graininess!
Essential Tools: Equipment Guidance
A heavy-bottomed saucepan is key to preventing hot spots and burning, while a candy thermometer ensures precision in reaching the soft ball stage. Have a wooden spoon and pastry brush ready for stirring and brushing sugar crystals. Lining your pan with parchment paper makes cleanup a breeze!
Best Chocolate Fudge
Ingredients
- 3 cups granulated sugar (600 g)
- 1 cup whole milk (235 ml)
- 2 Tablespoons light corn syrup
- 2 oz unsweetened chocolate broken into pieces (100% cocoa) (57 g)
- 3 Tablespoons salted butter room temperature
- 1 teaspoon vanilla extract
Instructions
- Line a 9×5 loaf pan with parchment paper and set aside.
- Lightly dampen a pastry brush and set it nearby the stove.
- In a medium-sized, heavy-bottomed saucepan, combine sugar, milk, corn syrup and chocolate over medium heat.
- Using a wooden spoon, stir the mixture constantly, occasionally brushing the side of the pot with the pastry brush to remove crystals that might fall into your fudge.
- Once mixture begins to boil, attach your candy thermometer to the pot (make sure the bottom of the thermometer isn’t touching the bottom of the pan).
- Stir mixture occasionally until your thermometer reads 238F (soft ball stage).
- Immediately remove pan from heat and add your butter and vanilla extract. Do not stir the butter and vanilla! Allow it to set and melt
- Leave mixture undisturbed until your candy thermometer reads 110F. This will take a long time, possibly an hour or more.
- Now, using a (clean) wooden spoon, begin to stir the mixture vigorously (be careful not to scrape the sides or you may knock sugar crystals into the fudge, causing grainy fudge) until it begins to lose its shiny sheen and thicken (It will take a good bit of stirring before the fudge is just right, your arms will get tired and it’s not a bad idea to have a back-up stirrer… seriously!)
- Immediately, once the fudge begins to thicken, pour into prepared pan.
- Allow to cool completely before cutting and serving.