
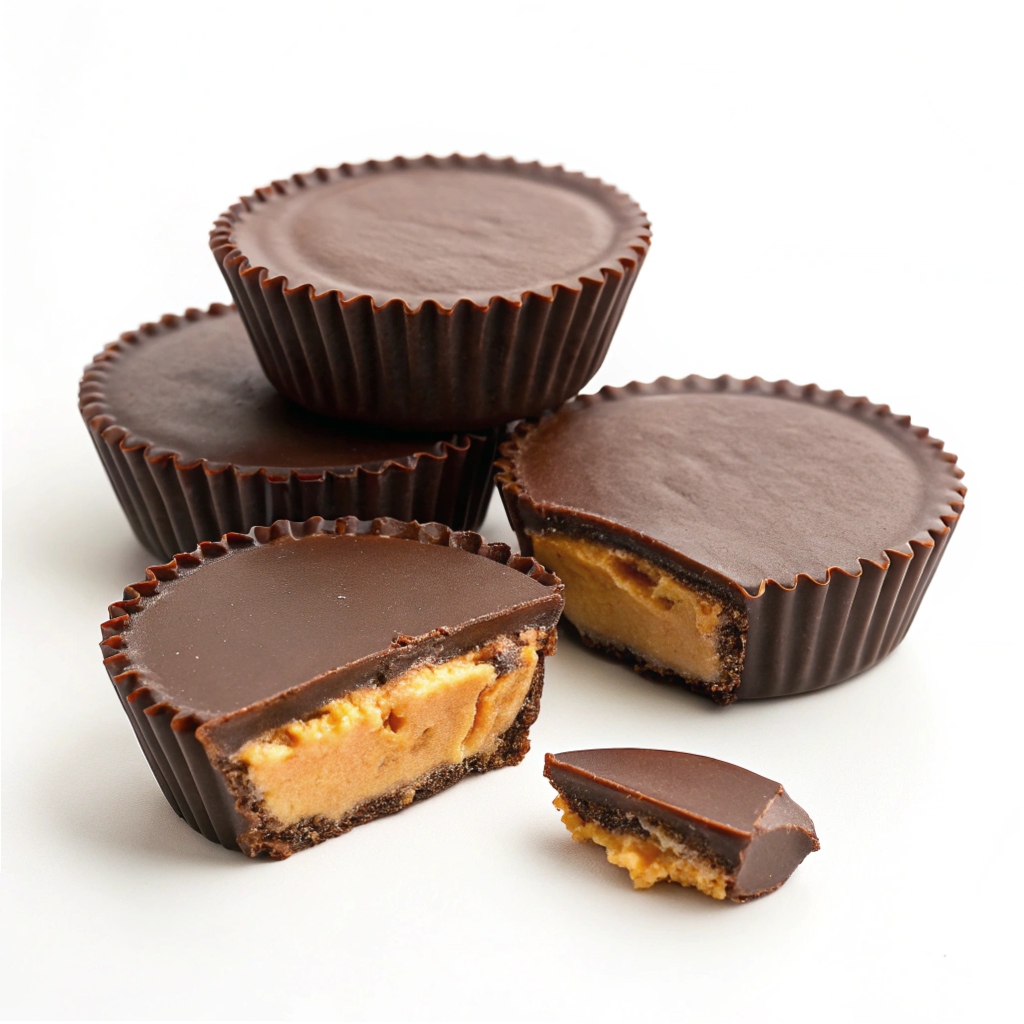
These Homemade Peanut Butter Cups bring together rich, velvety chocolate and creamy peanut butter in a bite-sized treat. With just 30 minutes of prep and an hour to chill, you’ll create a decadent dessert that’s irresistibly smooth and satisfying. The contrast of the crunchy peanut butter filling against the melt-in-your-mouth chocolate is a delight for every bite. Perfect for satisfying sweet cravings or impressing guests, these cups are indulgent yet simple to make.
Each peanut butter cup is a harmony of sweet and salty flavors, offering a guilt-free moment of bliss. Packed with protein and fiber, they’re a treat you can feel good about enjoying. The rich aroma of chocolate and the nutty undertones make this recipe a sensory experience you’ll want to savor. Make a batch in advance—they’re just as delicious chilled as they are fresh.
Ingredients for Homemade Peanut Butter Cups
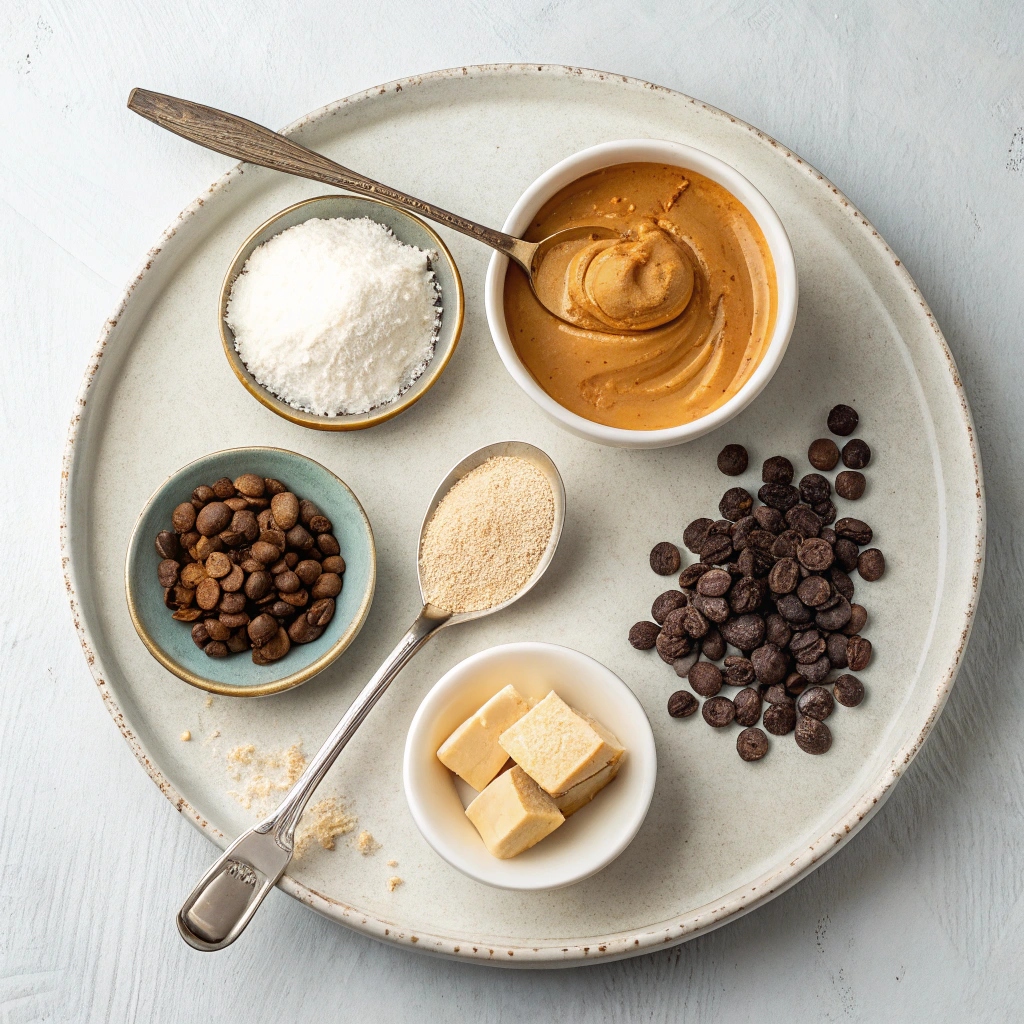
- 1 cup (235 g) creamy peanut butter (use natural peanut butter for a healthier option)
- 3 Tablespoons unsalted butter, softened to room temperature (substitute with coconut oil for a dairy-free version)
- 3 Tablespoons brown sugar, tightly packed (adjust to taste or use coconut sugar as an alternative)
- ½ teaspoon salt (use sea salt for a more refined flavor)
- ½ teaspoon vanilla extract (pure vanilla extract recommended for best flavor)
- 1 cup (125 g) powdered sugar (add more if needed, 1 Tablespoon at a time, if mixture is too sticky)
- 3 cups milk chocolate chips (dark or semi-sweet chocolate can be used for a richer taste)
- 1 teaspoon shortening (optional, helps to smooth the chocolate)
Step-by-Step Instructions
- Prepare the Peanut Butter Filling: In a medium-sized bowl, combine 1 cup (235 g) creamy peanut butter and 3 Tablespoons unsalted butter. Use an electric mixer to beat until well-combined.
- Add Flavors: Stir in 3 Tablespoons brown sugar, ½ teaspoon salt, and ½ teaspoon vanilla extract until fully incorporated.
- Incorporate Powdered Sugar: Gradually add 1 cup (125 g) powdered sugar, about ¼ cup at a time, stirring until completely combined. Set aside.
- Shape the Filling: Roll about 2-3 teaspoons of the peanut butter mixture into a ball, slightly flatten, and set aside on a wax paper-lined cookie sheet. If the mixture is too sticky, add more powdered sugar, 1 Tablespoon at a time, until manageable.
- Prepare Cupcake Liners: Set out 20 cupcake liners on a large cookie sheet.
- Melt the Chocolate: In a large, microwave-safe bowl, combine 3 cups milk chocolate chips and 1 teaspoon shortening. Microwave in 25-second increments, stirring well between each, until the chocolate is completely melted.
- Assemble the Cups: Spoon about 2 teaspoons of melted chocolate into a cupcake liner. Use the back of a small spoon or a pastry brush to spread the chocolate, covering the entire bottom of the liner.
- Add the Filling: Gently press a prepared peanut butter ball into the chocolate layer. Spoon additional chocolate on top until the peanut butter is completely covered.
- Repeat: Continue assembling until all cupcake liners are filled.
- Set the Cups: Allow the cupcake liners to sit undisturbed until the chocolate has hardened (this may take over an hour). To speed up the process, place the cups in the fridge for at least 30 minutes.
Creative Variations to Spice Up Your Peanut Butter Cups
Try adding a sprinkle of sea salt on top of the melted chocolate for a sweet-and-salty twist. For a nutty crunch, mix in chopped peanuts or almonds into the peanut butter filling. If you’re feeling adventurous, swap the milk chocolate for dark or white chocolate chips for a different flavor profile.
Storage Tips to Keep Your Treats Fresh
Store your peanut butter cups in an airtight container at room temperature for up to a week, or in the fridge for up to two weeks. For longer storage, freeze them in a single layer on a baking sheet, then transfer to a freezer-safe bag for up to three months. Let them thaw at room temperature before enjoying.
Time-Saving Hacks for Busy Bakers
To speed up the chilling process, place the peanut butter cups in the freezer for 15-20 minutes instead of the fridge. If you’re short on time, skip rolling the peanut butter mixture into balls and simply spoon it directly into the chocolate-lined cupcake liners. It’s quicker and just as delicious!
Essential Equipment for Perfect Peanut Butter Cups
An electric mixer makes blending the peanut butter and butter a breeze, while a microwave-safe bowl ensures smooth, melted chocolate. Use a small cookie scoop or teaspoon to portion the peanut butter mixture evenly, and a pastry brush helps spread the chocolate smoothly in the liners.
Common Questions Answered
Can I use natural peanut butter?
Yes, but it may be oilier, so you might need extra powdered sugar to thicken the filling.
What if I don’t have shortening?
Coconut oil works as a great substitute for melting the chocolate.
Can I make these vegan?
Absolutely! Use dairy-free chocolate chips and vegan butter for a plant-friendly version.
Homemade Peanut Butter Cups
Ingredients
- 1 cup creamy peanut butter 235 g
- 3 Tablespoons unsalted butter softened to room temperature
- 3 Tablespoons brown sugar tightly packed
- ½ tsp salt
- ½ teaspoon vanilla extract
- 1 cup powdered sugar 125 g (add more if needed)
- 3 cups milk chocolate chips
- 1 teaspoon shortening
Instructions
- Combine peanut butter and butter in a medium-sized bowl and use an electric mixer to beat together until well-combined.
- Stir in brown sugar, salt, and vanilla extract.
- Gradually add the powdered sugar, about ¼ cup at a time, stirring until completely combined. Set aside.
- Roll about 2-3 teaspoons of your peanut butter mixture into a ball, slightly flatten, and set aside on a wax paper lined cookie sheet (if the peanut butter mixture is too sticky to handle, add more powdered sugar, stirring in 1 Tablespoon at a time until it is manageable).
- Set out 20 cupcake liners on a large cookie sheet.
- Prepare your chocolate by combining the chocolate chips and shortening in a large, microwave-safe bowl and microwaving in 25-second increments (stirring well between each) until chocolate is completely melted.
- Spoon a small amount (about 2 teaspoons) of chocolate into a cupcake liner and use the back of a small spoon or use a pastry brush to spread the chocolate so the entire bottom of the liner is covered.
- Press a prepared peanut butter ball gently into the chocolate layer, and then spoon additional chocolate on top until all of the peanut butter is completely covered in chocolate.
- Repeat until all cupcake liners have been filled.
- Allow cupcake liners to sit undisturbed until the chocolate has hardened (this may take over an hour), or you may speed up the process and place the cups in the fridge for at least 30 minutes.