

Cookie Dough Pops are the ultimate treat for anyone who loves the irresistible combination of creamy, sweet dough and a satisfying crunch. These bite-sized delights are made with a rich, buttery base, studded with mini chocolate chips, and coated in a smooth layer of decadent chocolate. Perfect for parties or a quick indulgence, they’re ready in just 1 hour, with minimal hands-on prep. The contrast between the soft, velvety center and the crisp outer shell creates a texture that’s pure bliss with every bite.
Each pop is a burst of nostalgic flavor, offering the joy of cookie dough without the worry. With 225 calories per pop, they’re a guilt-free way to satisfy your sweet tooth. The chilling time ensures they hold their shape beautifully, making them as fun to make as they are to eat. Whether you’re sharing with friends or keeping them all to yourself, these pops are a guaranteed crowd-pleaser. Their rich, chocolatey aroma and melt-in-your-mouth goodness will have everyone reaching for seconds.
Ingredients for Cookie Dough Pops
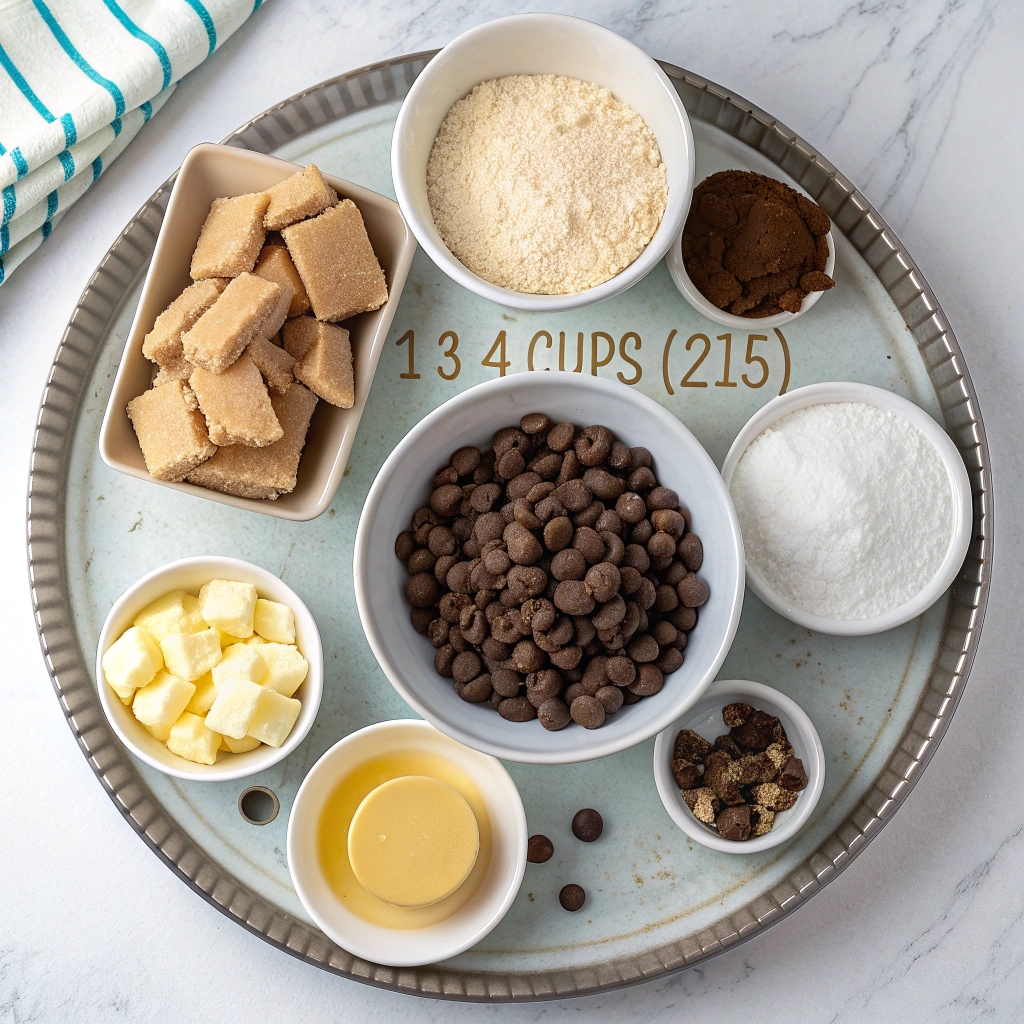
- 1 ¾ cup (215 g) all-purpose flour (sifted and cooled)
- 1 cup (226 g) unsalted butter (softened to room temperature)
- 1 ½ cup (250 g) brown sugar (tightly packed)
- ¼ cup (50 g) sugar
- 1 teaspoon vanilla extract
- ½ teaspoon salt
- ½ cup (85 g) mini chocolate chips
- 10 oz (285 g) dark chocolate melting wafers
- Sprinkles (optional, for decoration)
Step-by-Step Instructions
- In a large bowl, use an electric mixer to beat together the softened butter, brown sugar, and sugar until creamy.
- Add the vanilla extract and salt, and stir well to combine.
- Gradually add the cooled, sifted flour mixture, stirring until completely combined.
- Fold in the mini chocolate chips until evenly distributed.
- Scoop the cookie dough into 1 ½ Tablespoon-sized balls and roll between your palms until smooth.
- Place the dough balls on a wax paper-lined cookie sheet and chill in the refrigerator for 20 minutes (do not chill longer, as the dough may become too hard for the sticks).
- While the dough chills, prepare a box or piece of styrofoam by making small holes to hold the cake pop sticks securely.
- Melt the dark chocolate wafers in a small bowl according to the package instructions.
- Dip one end of a cake pop stick about ½ inch into the melted chocolate, then gently insert it halfway into a chilled cookie dough ball.
- Hold the stick and dip the cookie dough into the melted chocolate, ensuring it’s fully coated. Let excess chocolate drip off.
- Immediately add sprinkles (if using) and place the stick into the prepared box or styrofoam to allow the chocolate to harden.
- Once the chocolate has set, serve and enjoy your Cookie Dough Pops!
Fun Topping Ideas to Elevate Your Cookie Dough Pops
While sprinkles are a classic choice, try experimenting with other toppings to make your cookie dough pops stand out. Crushed nuts, shredded coconut, or even a drizzle of white chocolate can add texture and flavor. For a festive touch, use colored sanding sugar or edible glitter to match the occasion.
Perfect Serving Suggestions for Any Occasion
These cookie dough pops are a hit at parties, bake sales, or as a sweet treat for movie nights. Arrange them in a decorative stand or place them in small treat bags tied with ribbon for a thoughtful gift. Pair them with a glass of cold milk or a cup of coffee for the ultimate indulgence.
Storage Tips to Keep Your Pops Fresh
Store your cookie dough pops in an airtight container in the refrigerator for up to 5 days. If you need to store them longer, they can be frozen for up to 2 months. Just thaw them in the fridge before serving. Avoid leaving them at room temperature for too long, as the chocolate coating may soften.
Time-Saving Tips for Busy Bakers
To save time, prepare the cookie dough in advance and store it in the fridge for up to 2 days before shaping and dipping. Use pre-measured ingredients and a stand mixer to streamline the process. If you’re short on time, skip the sprinkles or use pre-made chocolate melts for quicker assembly.
Common Questions Answered
Can I use regular chocolate chips instead of melting wafers?
While you can, melting wafers are preferred for their smooth consistency and easy dipping.
Can I make these pops gluten-free?
Yes, simply substitute the all-purpose flour with a gluten-free blend.
What if I don’t have cake pop sticks?
Use lollipop sticks or even sturdy straws as an alternative.

Cookie Dough Pops
Ingredients
- 1 ¾ cup all-purpose flour
- 1 cup unsalted butter softened to room temperature
- 1 ½ cup brown sugar tightly packed
- ¼ cup sugar
- 1 teaspoon vanilla extract
- ½ teaspoon salt
- ½ cup mini chocolate chips
- 10 oz dark chocolate melting wafers
- Sprinkles optional
Instructions
- In a large bowl using an electric mixer, beat together softened butter and sugars. Beat well until creamy.
- Add vanilla extract and salt, stir well.
- Gradually add cooled, sifted flour mixture, stirring until completely combined.
- Stir in mini chocolate chips.
- Scoop cookie dough into 1 ½ Tablespoon-sized balls and roll between your palms until smooth.
- Place on a wax paper lined cookie sheet and chill in the refrigerator for 20 minutes (I don’t advise chilling longer than this as they will not take the cake pop sticks as well if they are chilled much longer).
- While the dough chills, prepare a box or piece of styrafoam by making a tiny hole in your surface, check to be sure that a cake pop stick fits and will be supported once you add your cookie dough.
- Once cookie dough balls have chilled, prepare melting wafers in a small bowl according to package instructions.
- Dip one end of your cake pop stick about ½” into the melted dark chocolate, and then gently insert about halfway into a cookie dough ball.
- Hold the stick and dip cookie dough into your bowl of melted dark chocolate. Drain off excess chocolate and then immediately add sprinkles. Place the stick into your prepared box or styrofoam to allow the chocolate to harden before storing or serving.
- Enjoy!