
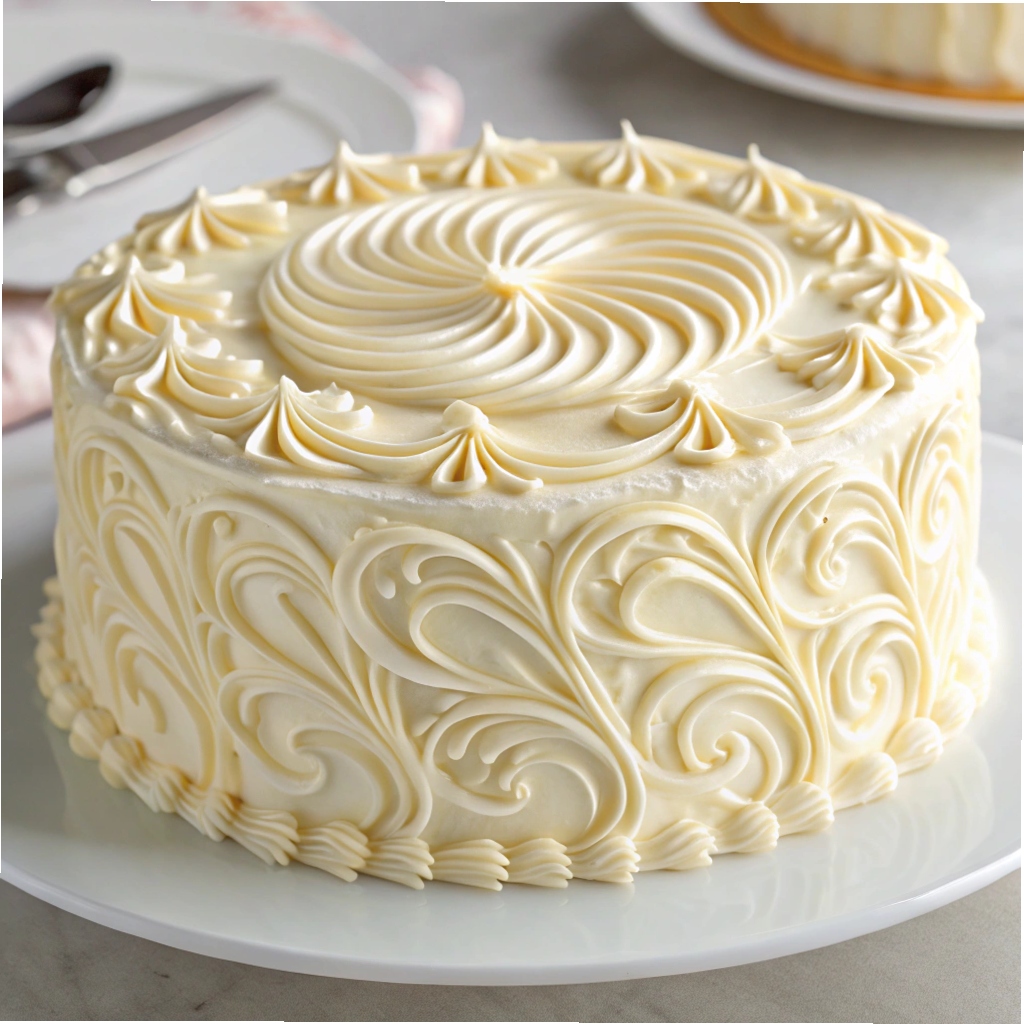
This Easy Royal Icing Recipe is your secret to creating glossy, smooth, and perfectly piped decorations in just 15 minutes. With its velvety texture and sweet, delicate flavor, it’s ideal for cookies, cakes, and festive treats. The icing sets beautifully, giving your creations a professional finish that’s as stunning as it is delicious.
Made with simple ingredients, this recipe yields 4 cups of icing, perfect for all your baking projects. Each serving is light yet indulgent, with a satisfying sweetness that complements any dessert. Whether you’re a seasoned baker or a beginner, this quick and foolproof recipe will elevate your treats effortlessly.
Ingredients for Easy Royal Icing
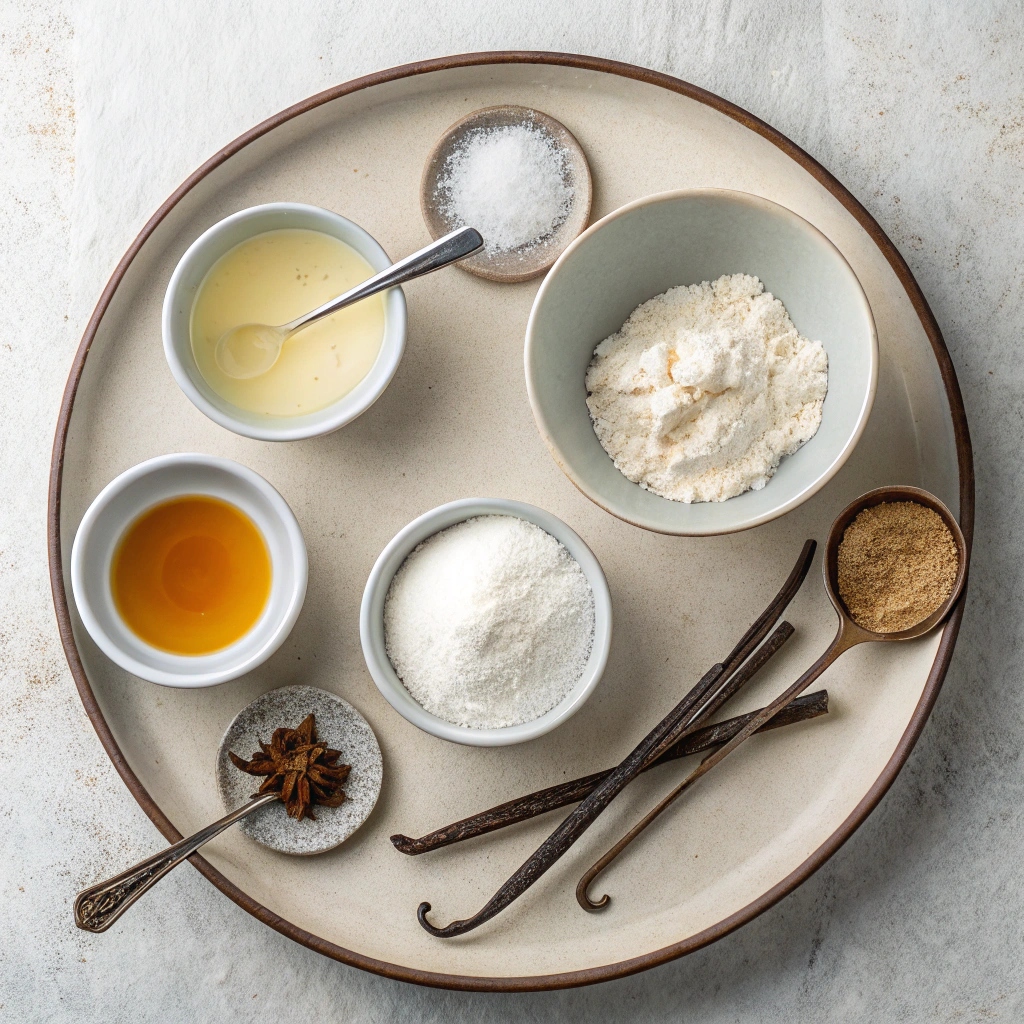
- 4 cups (500 g) powdered sugar
- 2 ½ Tablespoons meringue powder
- 6 Tablespoons water
- 1 teaspoon vanilla extract (or other flavoring, but avoid oil-based options to maintain consistency)
Step-by-Step Instructions
- Prepare Your Tools: Ensure your bowl and all utensils are clean and grease-free for proper whipping.
- Combine Ingredients: In the bowl of a stand mixer fitted with a whisk attachment (or a large bowl with an electric hand mixer), mix the powdered sugar, meringue powder, and water. Beat on low speed until combined.
- Add Flavoring: Add the vanilla extract (or other flavoring) and mix briefly to incorporate.
- Whip to Stiff Peaks: Gradually increase the mixer speed to high and beat until the icing forms stiff peaks, about 5 minutes or longer.
- Color the Icing: Divide the icing and tint as desired using gel food coloring.
- Adjust Consistency: For outlining, use the icing as is. For flooding/filling, add water, about 1 teaspoon at a time, stirring until the icing drizzles off a spoon and holds its shape for several seconds before dissolving.
- Decorate Cookies: Pipe outlines with the thicker icing, then fill with the thinned flooding icing. Use a toothpick to smooth the icing for an even finish.
- Let Dry: Allow the cookies to dry completely, preferably overnight, before stacking or transporting.
Perfecting Your Royal Icing Consistency
Getting the right consistency for royal icing is key! For outlining, aim for stiff peaks that hold their shape. For flooding, add water a teaspoon at a time until the icing flows smoothly but doesn’t dissolve immediately. A good test: drizzle icing from a spoon—it should hold its shape for a few seconds before blending back in.
Decorating Tips for Stunning Cookies
Start by piping your outlines with the thicker icing, then fill in with the thinner flooding icing. Use a toothpick to gently swirl and smooth the surface for a professional finish. Let cookies dry completely—overnight is best—to ensure they’re fully set and ready for stacking or gifting.
Storage and Keeping Icing Fresh
Store unused royal icing in an airtight container with plastic wrap pressed directly onto the surface to prevent drying. It can last up to 2 weeks in the fridge. Before reusing, let it come to room temperature and re-whip to restore its smooth texture.
Fun Flavor Variations to Try
While vanilla is classic, you can experiment with other extracts like almond, lemon, or peppermint. Just ensure they’re oil-free to avoid affecting the icing’s consistency. For a citrus twist, add a teaspoon of lemon or orange zest for a fresh, zesty flavor.
Essential Equipment for Success
A stand mixer or electric hand mixer is a must for whipping the icing to stiff peaks. Use a piping bag with a small round tip for precise outlining. Gel food coloring works best for vibrant hues without thinning the icing. Keep a toothpick handy for smoothing and fixing any imperfections.

Easy Royal Icing Recipe
Ingredients
- 4 cups powdered sugar (500 g)
- 2 ½ Tablespoons meringue powder
- 6 Tablespoons water
- 1 teaspoon vanilla extract you may use other flavorings instead/in addition, but make sure they are not made with oil or they may keep your icing from reaching the proper consistency.
Instructions
- IMPORTANT NOTE BEFORE YOU BEGIN: Your bowl and all utensils must be clean and grease free in order for the icing to whip properly.
- In the bowl of a stand mixer fitted with a whisk attachment or in a large bowl (you will need an electric hand mixer) combine sugar, meringue powder, and water. Beat on low speed until combined, then add vanilla extract (or other flavoring).
- Gradually increase mixer speed to high and beat until icing forms stiff peaks (5 minutes or longer).
- Divide and color icing as desired (I like to use gel food coloring).
- Icing at this consistency can be used as a stiff outlining icing. To thin the icing for flooding/filling, tint as desired first (so that your outlining and flooding icing is the same tint), divide (so you have one bowl of outlining and one bowl of flooding icing), and then stir your bowl of flooding icing, adding about a teaspoon of water at a time until frosting reaches desired consistency. For me this usually means that if I pull my spoon out of the royal icing, the icing that drizzles off holds its shape for several seconds before dissolving back into a puddle.
- To Decorate Cookies: First pipe your outlines with your outlining frosting, then fill with your flooding icing. Use the point of a toothpick to swirl/smooth the icing until it is smooth and even.
- Allow cookies to dry completely before stacking/transporting, this will take several hours. I like to let mine dry overnight to ensure they are dried all the way through.