
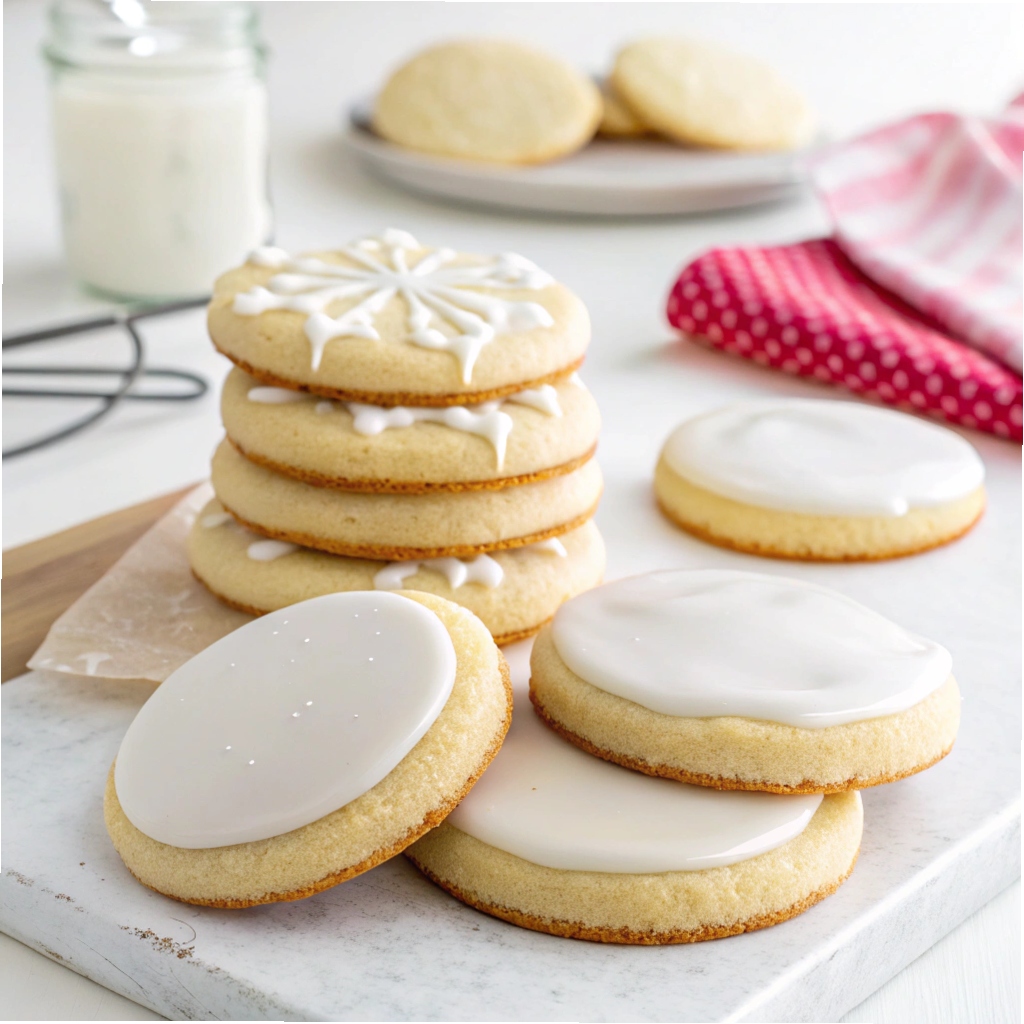
These Easy Sugar Cookies are a delightful treat that combines buttery richness with a melt-in-your-mouth texture, perfect for any occasion. With just a few simple steps and a bit of patience during the chilling time, you’ll create cookies that are crisp on the edges yet tender in the center. The optional icing adds a glossy, sweet finish that makes them as beautiful as they are delicious.
In just over three hours, including prep and chilling, you’ll have a batch of 40 cookies ready to share or savor. The soft, crumbly dough pairs perfectly with the smooth, creamy icing, creating a balance of flavors and textures that’s irresistible. Whether for holidays, parties, or a cozy afternoon, these cookies are sure to bring smiles and sweet memories.
Ingredients for Easy Sugar Cookies and Icing
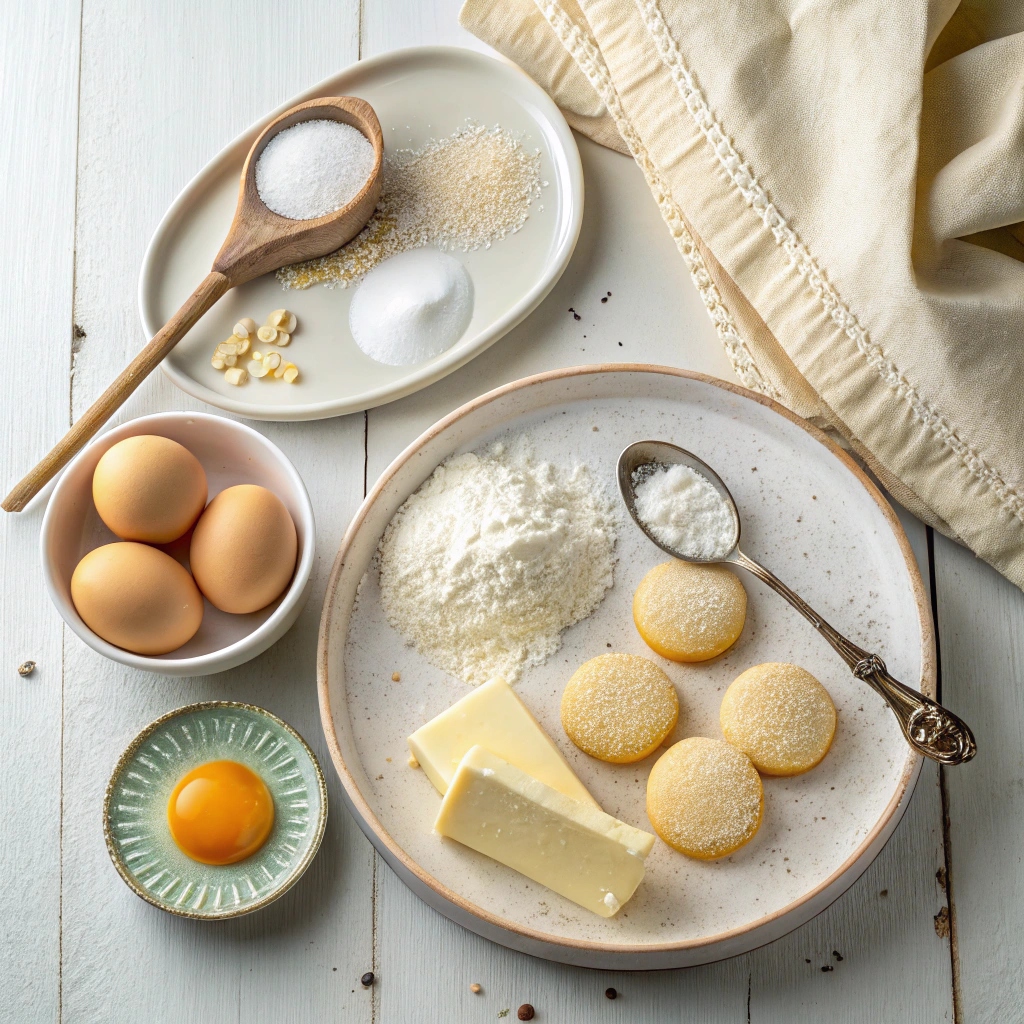
- Sugar Cookies:
- 1 cup (226 g) unsalted butter, softened
- 1 cup (200 g) granulated sugar
- 1 ½ teaspoons vanilla extract (pure or imitation works)
- 1 large egg
- 2 ½ cups (315 g) all-purpose flour (plain flour)
- ¾ teaspoon baking powder
- ¾ teaspoon table salt
- Sugar Cookie Frosting:
- 3 cups (375 g) powdered sugar, sifted (weigh before sifting)
- 3-4 Tablespoons milk (whole milk preferred, but any kind works)
- 2 Tablespoons light corn syrup (optional, adds shine)
- ½ teaspoon vanilla extract
- Gel food coloring (optional, for decorating)
- Additional candies and sprinkles (optional, for decorating)
Step-by-Step Instructions
- Make the Cookie Dough:
- In a stand mixer or large bowl with a hand mixer, beat softened butter and granulated sugar until creamy and well-combined.
- Add the egg and vanilla extract, and beat until fully incorporated.
- In a separate bowl, whisk together flour, baking powder, and salt.
- Gradually mix the dry ingredients into the wet ingredients until the dough is smooth and combined.
- Chill the Dough:
- Divide the dough in half and place each portion onto a large piece of plastic wrap.
- Flatten into disks, wrap tightly, and refrigerate for at least 2-3 hours (or up to 5 days).
- Roll and Cut the Cookies:
- Preheat oven to 350°F (175°C) and line a baking sheet with parchment paper.
- Generously flour a clean surface and roll out one dough disk to ⅛” (for crispier cookies) or ¼” (for softer cookies). Add flour as needed to prevent sticking.
- Use cookie cutters to cut out shapes, then transfer to the baking sheet, spacing them at least 1″ apart.
- Bake for 8-10 minutes (adjust for smaller or larger cookies) until edges are lightly golden. Let cool completely on the baking sheet.
- Make the Icing:
- In a medium bowl, combine powdered sugar, 2 Tablespoons of milk, corn syrup, and vanilla extract. Stir until smooth.
- Add more milk, a teaspoon at a time, if the icing is too thick. If too thin, add more powdered sugar.
- Divide and color the icing with gel food coloring if desired.
- Decorate the Cookies:
- Transfer icing to a piping bag or Ziploc bag with a small corner snipped off.
- Pipe icing onto cooled cookies and add sprinkles or candies if desired.
- Let the icing harden completely (several hours) before stacking or storing.
Decorating Delight: Creative Frosting and Topping Ideas
Take your sugar cookies to the next level with creative decorations! Try using different colors of frosting for a vibrant look, or add edible glitter for a festive touch. For a fun twist, use sprinkles, crushed nuts, or mini chocolate chips to add texture and flavor. You can also experiment with stencils for intricate designs or drizzle melted chocolate over the icing for a decadent finish.
Storing Sweets: Keep Your Cookies Fresh
To keep your sugar cookies fresh, store them in an airtight container at room temperature for up to 1 week. If you’ve already frosted them, place a sheet of parchment paper between layers to prevent sticking. For longer storage, freeze the cookies (unfrosted) in a freezer-safe container for up to 3 months. Thaw at room temperature before decorating.
Time-Saving Tricks for Busy Bakers
Short on time? Prepare the dough ahead of time and refrigerate it for up to 5 days, or freeze it for up to 3 months. When rolling out the dough, work with smaller portions to make it easier to handle. If you’re not into intricate shapes, simply roll the dough into balls and flatten them with a glass for a quick, no-fuss option. You can skip the icing and sprinkle sanding sugar on top before baking for a simple yet elegant finish.
Essential Equipment & Baking Tips
For perfect sugar cookies, a stand mixer or electric hand mixer is a lifesaver for creaming the butter and sugar. A rolling pin with thickness guides ensures even dough thickness, and a cookie spatula helps transfer delicate shapes to the baking sheet. Don’t forget to use parchment paper to prevent sticking and make cleanup a breeze. If your dough cracks while rolling, let it soften slightly at room temperature for 10-15 minutes.
Recipe Variations: Mix It Up!
Customize your sugar cookies with flavorful additions! Add lemon zest or almond extract to the dough for a unique twist. For a festive touch, mix in cinnamon or nutmeg during the holidays. If you prefer a chocolate version, replace ½ cup of flour with cocoa powder. You can also use colored sugar or nonpareils for a decorative touch before baking, skipping the icing altogether.
Easy Sugar Cookie Recipe (With Icing!)
Ingredients
Method
- Combine butter and sugar in the bowl of a stand mixer (or in a large bowl and use an electric hand mixer) and beat until creamy and well-combined.
- Add egg and vanilla extract and beat until completely combined.
- In a separate, medium-sized bowl, whisk together flour, baking powder, and salt.
- Gradually stir dry ingredients into wet until dough is smooth and completely combined.
- Lay out a large piece of plastic wrap and transfer approximately half of the dough onto the wrap (dough will be quite sticky at this point, that’s OK!).
- Cover dough with clear wrap or wax paper and mold into a flat disk. Wrap tightly. Repeat with remaining cookie dough in another piece of clear wrap. Transfer dough to refrigerator and chill for at least 2-3 hours and up to 5 days.
- Once dough has finished chilling, preheat oven to 350F (175C) and line a baking sheet with parchment paper (alternatively bake cookies directly on an ungreased baking sheet). Set aside.
- Generously dust a clean surface with flour and place one chilled cookie dough disk onto the surface. Lightly flour the dough and roll out to ⅛” (for thinner, crispier cookies) or ¼” (for thicker, softer cookies). Add additional flour as needed both on top of and beneath the dough so that it doesn’t stick. Note: if dough is cracking as you roll it, let it sit at room temperature for 10-15 minutes to soften before attempting again.
- Use cookie cutters to cut out shapes and use a spatula to transfer shapes to prepared baking sheet, spacing at least 1″ apart. If you are not intending to decorate your cookies with icing, you can decorate them with sanding sugar at this point before you bake them. Bake on 350F (175C) for 8-10 minutes (this is for cookies that are approximately 3″ [7.6cm]; note that smaller cookies will need less time and larger cookies will need more), or until edges just begin to turn lightly golden brown. Allow cookies to cool completely on cookie sheet before decorating.
- Combine powdered sugar, 2 Tablespoons of milk, corn syrup, and vanilla extract in a medium-sized bowl and stir until combined. If frosting is too thick, add more milk, about a teaspoon at a time, until the frosting is thick but pipeable. If you accidentally add too much milk, add powdered sugar until desired texture is reached.
- If coloring the frosting, divide into bowls and color as desired at this point.
- Transfer frosting to a piping bag with a piping tip (I used Wilton 5), or place in a Ziploc bag and snip a small piece of the corner off (not as neat, but this will still work, just take care that the frosting isn’t so thick that it breaks open the seam of the bag when you are squeezing).
- Pipe frosting on cookies and decorate with decorative candies, if desired.
- Allow frosting to harden before enjoying, stacking, or storing (this took several hours for me and may vary for you depending on the consistency of your frosting).