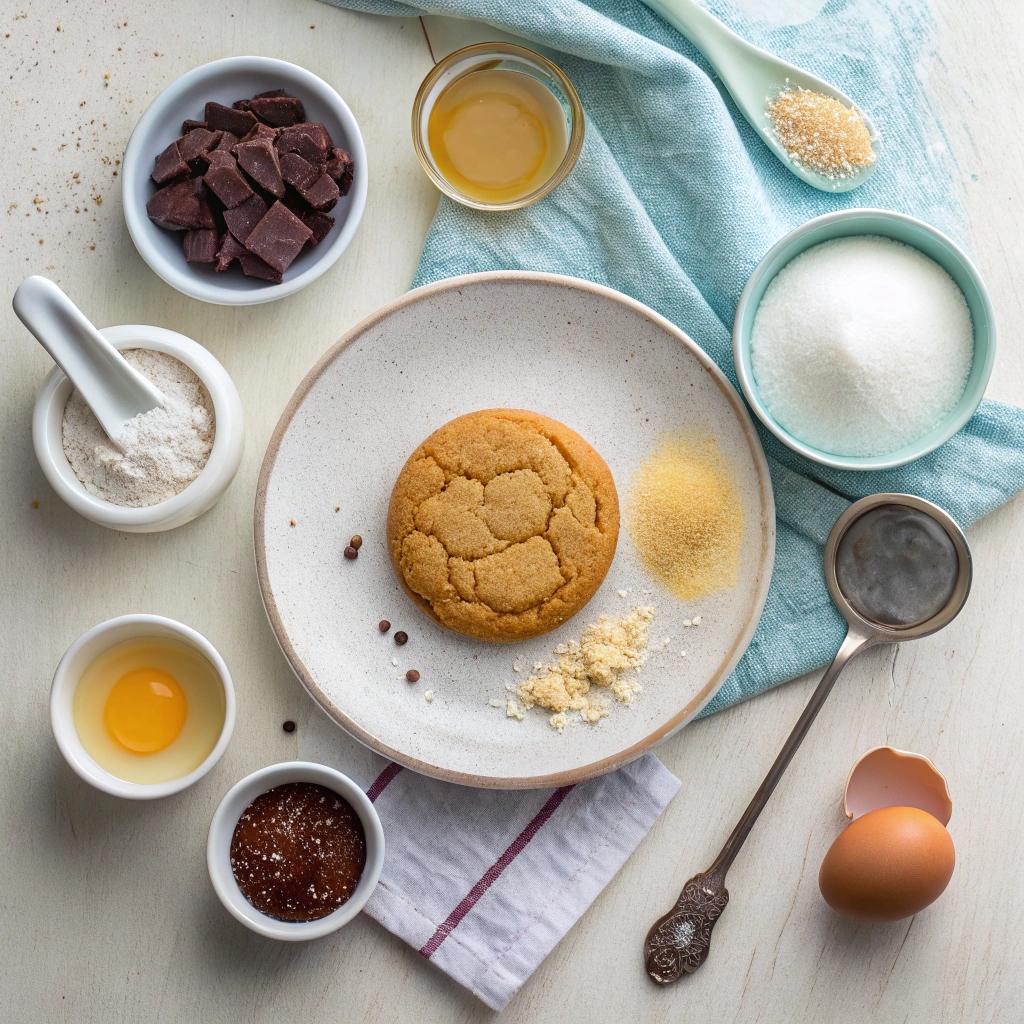
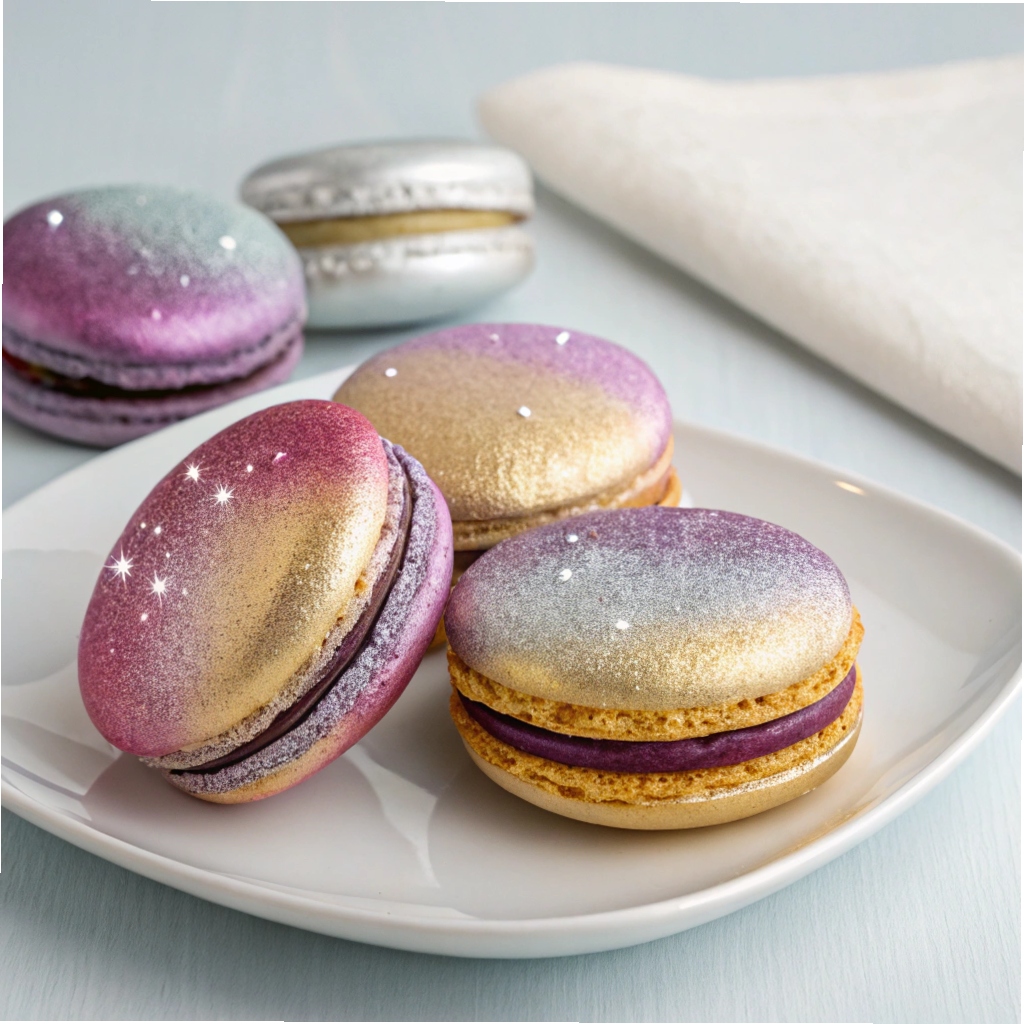
Galaxy Cookies are a cosmic treat that combines rich, buttery flavors with a hint of sweetness and a touch of magic. Each bite offers a delightful crunch on the outside and a soft, chewy center, making them irresistible. With just 78 calories per cookie, they’re a guilt-free indulgence that’s perfect for sharing or savoring solo. The vibrant colors and starry design make them as visually stunning as they are delicious, turning any occasion into a celestial celebration.
Ready in just over an hour, these cookies are surprisingly simple to whip up, with 36 minutes of prep and a quick 10-minute bake. Packed with a balance of textures and flavors, they’re a crowd-pleaser that’s sure to transport your taste buds to another galaxy. Whether for a party or a quiet night in, these treats are a stellar addition to your baking repertoire.
Galaxy Cookies Ingredients

- Cutout Cookies:
- 1 cup (226 g) unsalted butter, softened
- ⅔ cup (135 g) granulated sugar
- 1 tsp vanilla extract
- 1 large egg yolk, lightly beaten
- 2 cups (270 g) all-purpose flour
- ⅓ cup (35 g) dark cocoa powder
- ½ tsp salt
- Galaxy Glaze:
- 3 cups (375 g) powdered sugar, sifted
- 3-4 Tbsp milk (adjust for consistency)
- 3 Tbsp light corn syrup
- ½ tsp vanilla extract
- ¼ tsp almond extract (or your preferred flavoring)
- Gel food coloring (pink, blue, and purple)
How to Make Galaxy Cookies
- Prepare the Cookie Dough: In a stand mixer fitted with a paddle attachment, cream the softened butter until smooth. Add granulated sugar and beat until light and fluffy. Mix in vanilla extract and the lightly beaten egg yolk, scraping down the sides of the bowl as needed.
- Combine Dry Ingredients: In a separate bowl, whisk together flour, dark cocoa powder, and salt. Gradually add this mixture to the butter mixture on medium-low speed until well-incorporated. Scrape the bowl frequently to ensure even mixing.
- Shape and Chill Dough: Transfer the dough to a clean surface and form it into a cohesive ball. Flatten into a 1-inch thick disk, wrap in clear plastic, and chill in the refrigerator for 30 minutes.
- Preheat and Roll: Preheat the oven to 350°F (175°C) and line a cookie sheet with parchment paper. Roll out the chilled dough on a lightly floured surface to about ¼-inch thickness. Use lightly floured star-shaped cookie cutters to cut out shapes, transferring them to the prepared cookie sheet.
- Bake: Bake for 10-12 minutes (adjust for larger cutters) and let the cookies cool completely on a wire rack before glazing.
- Make the Glaze: In a large bowl, whisk together sifted powdered sugar, 3 Tbsp milk, and light corn syrup until smooth. Add more milk, 1 tsp at a time, if the mixture is too thick. Stir in vanilla and almond extracts.
- Color the Glaze: Divide the glaze into four small bowls. Use a toothpick to add small amounts of gel food coloring (pink, blue, and purple) to each bowl. Swirl the colors with a toothpick to create a galaxy-like pattern.
- Dip the Cookies: Hold each cookie at the base and dip the surface into the glaze. Adjust the swirls with additional food coloring if needed. Optional: Sprinkle with disco dust or silver stars before the glaze hardens.
- Set and Serve: Let the glazed cookies harden for at least 30 minutes. Store uneaten cookies in an airtight container at room temperature.
How to Store and Keep Your Galaxy Cookies Fresh
To maintain the stunning look and taste of your Galaxy Cookies, store them in an airtight container at room temperature. They’ll stay fresh for up to 5 days. If you’re making them ahead of time, you can freeze the unglazed cookies for up to 2 months—just thaw and glaze before serving.
Fun Variations to Make These Cookies Your Own
Switch up the flavors by using lemon or peppermint extract instead of almond in the glaze. For a different look, try using edible glitter or colored sprinkles instead of disco dust. You can also experiment with different cookie shapes like moons or planets for a full cosmic theme!
Time-Saving Tips for Busy Bakers
To speed up the process, chill the dough in the freezer for 15 minutes instead of the fridge for 30. Use multiple cookie sheets to bake batches simultaneously, and prepare the glaze while the cookies are cooling. This way, you’ll have your galaxy treats ready in no time!
Essential Equipment for Perfect Galaxy Cookies
Make sure you have a stand mixer or hand mixer for creaming the butter and sugar, and a rolling pin for even dough thickness. Star-shaped cookie cutters are a must, and a silicone baking mat can make transferring cookies to the sheet a breeze.
Common Questions Answered
Can I use liquid food coloring?
Gel food coloring is recommended for vibrant, non-runny glaze.
What if my glaze is too thin?
Add more powdered sugar, 1 tablespoon at a time, until it reaches the right consistency.
Can I skip the chilling step?
Chilling ensures the dough is firm enough to cut clean shapes, so it’s best not to skip it!

Galaxy Cookies
Ingredients
Cutout Cookies
- 1 cup unsalted butter softened
- ⅔ cup granulated sugar
- 1 tsp vanilla
- 1 large egg yolk lightly beaten
- 2 cups all-purpose flour
- ⅓ cup dark cocoa powder
- ½ tsp salt
Galaxy Glaze
- 3 cups powdered sugar sifted
- 3-4 Tbsp milk
- 3 Tbsp light corn syrup
- ½ tsp vanilla
- ¼ tsp almond extract or your preferred flavoring
- gel food coloring pink, blue, and purple
Instructions
- In stand mixer fitted with paddle attachment, cream butter.
- Add granulated sugar and beat until light and fluffy.
- Add vanilla and stir well.
- Stir in lightly beaten egg yolk. Scrape down sides of bowl as needed to evenly incorporate all ingredients.
- In separate bowl, combine flour, cocoa powder and salt.
- With mixer on medium-low speed, gradually add flour until well-incorporated (you will definitely need to scrape down the sides and the bottom of the bowl several times for this, as the mixture is fairly dry and crumbs tend to settle at the bottom of the bowl).
- Transfer dough to clean surface and use your hands to form it into a cohesive ball.
- Flatten into a disk (about 1″ thick), cover with clear wrap, and chill for 30 minutes.
- Preheat oven to 350F and line cookie sheet with parchment paper.
- Once dough has chilled, transfer it to a clean, lightly floured surface and use a lightly floured rolling pin to roll out to about ¼” thickness.
- Lightly flour your star cookie cutters and cut out your shapes, transferring them to ungreased cookie sheet.
- Once you have cut out all of the shapes that you can, be sure to re-combine the scraps and roll out and cut out again to get the maximum number of cookies from your dough.
- Bake on 350F for 10-12 minutes (longer if you are using larger cookie cutters) and allow cookies to cool completely before dipping.
- In a large bowl, combine sifted powdered sugar, 3 Tbsp milk, and light corn syrup. Whisk until smooth. If mixture is too dry, add additional milk, one teaspoon at a time until mixture can be stirred.
- Stir in extracts (be sure to taste test to ensure you are happy with the flavor!).
- Glaze should be thick, to test that it is the right consistency drop a few droplets on top of a test cookie. If the glaze remains stiff, it needs to be thinned. If it runs off the cookie, it is too thin and needs more powdered sugar. If it settles down smoothly, it is just right.
- Divide glaze into four small bowls.
- Working with one bowl at a time, use a toothpick (a different toothpick for each color) and dip it into the food coloring bottle and then into the glaze. You want a small pool of food coloring about the size of a mini chocolate chip or two.
- Drag a toothpick through the food coloring and glaze until it is prettily swirled (like a galaxy).
- Holding your cookie at the base, dip the surface of each cookie into the glaze (take a look at your first cookie — are you satisfied with the pattern? Adjust whorls with additional food coloring as needed).
- Optional: Before glaze can harden, immediately after dipping sprinkle cookies with disco dust and silver stars. These make them look extra pretty but are not required for stunning cookies.
- Once the first bowl runs out or the colors become too muddled together from dipping, move onto your next bowl of food coloring (you will probably need to stir as the surface may have begun to harden).
- Repeat steps 5-7 until all cookies have been dipped. Allow them to harden at least 30 minutes (may take longer) for glaze to set. Enjoy!
- Keep uneaten cookies in an airtight container at room temperature.

