

These Star-Spangled Cookies are a delightful blend of buttery richness and sweet indulgence, perfect for any celebration. With a crisp edge and a soft, chewy center, each bite offers a satisfying texture that melts in your mouth. Infused with a hint of vanilla and a touch of sugar, they’re as comforting as they are festive. Ready in just over an hour, including a quick 10-minute bake, they’re an easy treat to whip up for any occasion.
Packed with just 98 calories per cookie, they’re a guilt-free way to satisfy your sweet tooth. Whether you’re hosting a party or simply treating yourself, these cookies bring a burst of joy to every bite. Their golden hue and star-shaped charm make them as visually appealing as they are delicious. Share them with loved ones or savor them solo—they’re sure to brighten your day!
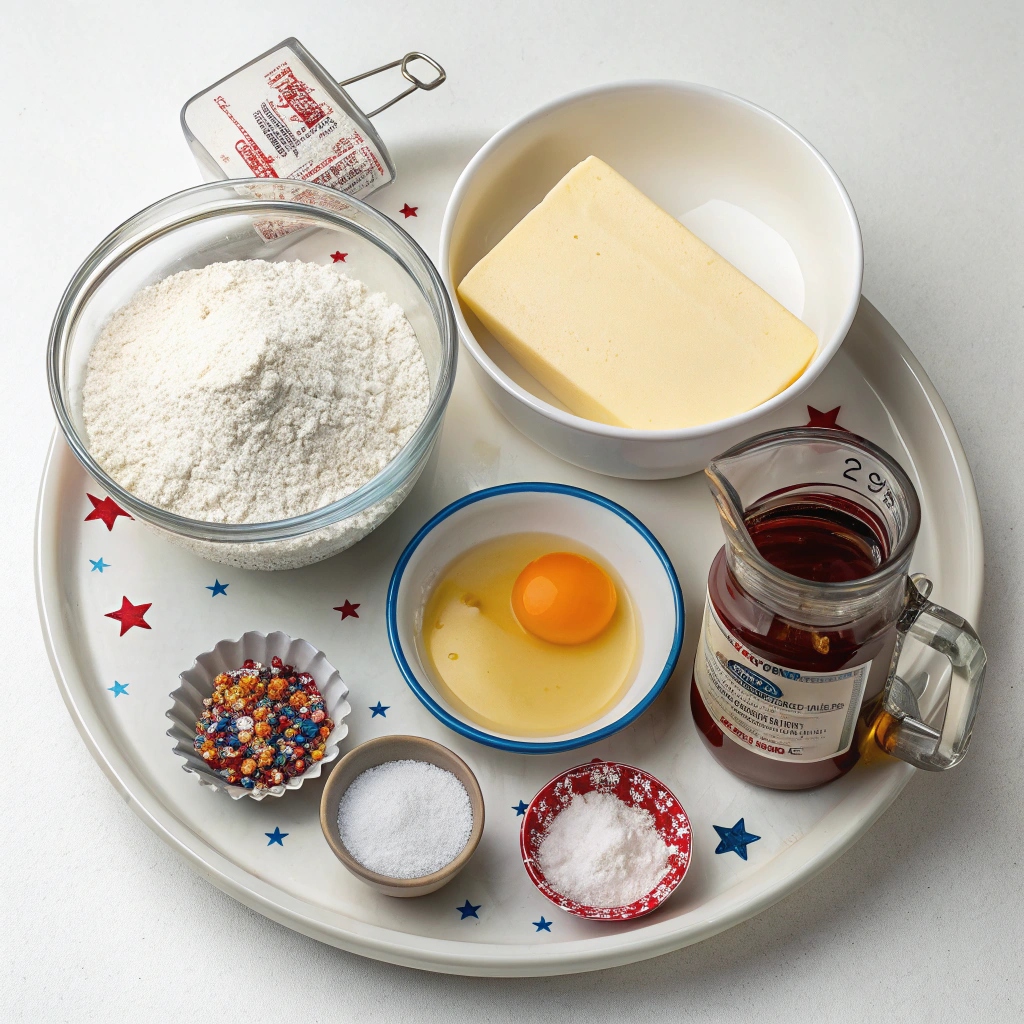
Ingredients for Star-Spangled Cookies
- Cookies:
- 1 cup (226 g) unsalted butter, softened
- ¾ cup (150 g) sugar
- 1 teaspoon vanilla extract
- ½ teaspoon salt
- 1 large egg yolk
- 2 ¼ cups (295 g) all-purpose flour
- Marble Icing Glaze:
- 3 cups (415 g) powdered sugar, sifted
- 3 Tablespoons light corn syrup
- 3-4 Tablespoons milk (adjust for consistency)
- ½ teaspoon vanilla extract
- ¼ teaspoon almond extract (or other preferred extract, optional)
- Gel food coloring (e.g., Americolor “red red” and “electric blue”)
- Silver star sprinkles (optional, for decoration)
- Luster dust/disco dust (optional, for extra sparkle)
Step-by-Step Instructions
- Prepare the Cookies:
- Preheat your oven to 350°F (175°C).
- In a KitchenAid mixer or with an electric hand mixer, beat the softened butter until well-creamed.
- Add the sugar and beat with the butter until well combined (about 30 seconds).
- Stir in the vanilla extract and salt, scraping down the sides of the bowl to ensure even mixing.
- Add the egg yolk and beat until fully incorporated.
- Gradually add the flour on medium-low speed, scraping the bowl frequently to ensure the dough is well-mixed.
- Form the dough into a ball, flatten into a 1-inch thick disk, wrap in clear wrap, and chill for 15 minutes.
- Roll out the dough to ¼-inch thickness on a lightly floured surface, cut out shapes with floured cookie cutters, and place on an ungreased cookie sheet.
- Re-roll and cut dough scraps to maximize yield.
- Bake for 10-12 minutes (longer for larger cookies) and let cool completely before glazing.
- Make the Marble Icing Glaze:
- In a large bowl, whisk together the sifted powdered sugar, 3 Tbsp milk, and light corn syrup until smooth. Add more milk, 1 tsp at a time, if needed.
- Stir in the vanilla and almond extracts.
- Test the glaze consistency by dropping a small amount on a cookie. It should settle smoothly without running off or staying stiff.
- Divide the glaze into four small bowls.
- Add a small dot of gel food coloring to each bowl using a toothpick (use a separate toothpick for each color).
- Swirl the colors with a toothpick to create a marbled effect.
- Dip the surface of each cookie into the glaze, adjusting the swirls with additional food coloring as needed.
- Repeat with the remaining bowls of glaze until all cookies are dipped.
- Let the glaze set for at least 30 minutes before decorating with silver star sprinkles or luster dust, if desired.
- Store uneaten cookies in an airtight container at room temperature.
Perfect Pairings: Serving Suggestions
These Star-Spangled Cookies are a festive treat on their own, but they pair beautifully with a glass of cold milk or a cup of hot cocoa. For a patriotic dessert spread, serve them alongside a scoop of vanilla ice cream topped with fresh berries. They also make a delightful addition to a cookie platter for summer picnics or Fourth of July celebrations.
Storage Secrets: Keeping Cookies Fresh
Store your cookies in an airtight container at room temperature for up to 5 days. If you’d like to keep them longer, you can freeze the unglazed cookies for up to 2 months. Just thaw and glaze them before serving. For the best texture, avoid stacking glazed cookies directly on top of each other—use parchment paper between layers.
Creative Twists: Recipe Variations
Want to mix things up? Try using lemon or orange extract in the glaze for a citrusy twist. You can also swap the silver star sprinkles for colored sugar or edible glitter for a different sparkle effect. For a chocolatey version, add 2 tablespoons of cocoa powder to the dough and use white or colored glaze for a fun contrast.
Time-Saving Tips for Busy Bakers
To save time, prepare the dough the night before and let it chill in the fridge overnight. When ready to bake, let it sit at room temperature for 10 minutes before rolling. If you’re short on time, skip the marble glaze and simply drizzle the cookies with a simple icing or sprinkle them with colored sugar before baking.
Essential Equipment Guidance
For this recipe, a stand mixer or electric hand mixer is ideal for creaming the butter and sugar. A rolling pin and cookie cutters are must-haves for shaping the stars. If you’re making the marble glaze, small bowls and toothpicks are essential for creating the swirl effect. Don’t forget a silicone baking mat or parchment paper for easy cleanup!

Star-Spangled Cookies
Ingredients
Cookies
- 1 cup unsalted butter softened
- 3/4 cups sugar
- 1 teaspoon vanilla extract
- 1/2 teaspoon salt
- 1 large egg yolk
- 2 1/4 cups all-purpose flour
Marble Icing Glaze
- 3 cups powdered sugar sifted
- 3 Tablespoons light corn syrup
- 3-4 Tablespoons milk
- 1/2 teaspoon vanilla extract
- 1/4 teaspoon almond (or other, preferred) extract optional
- gel food coloring I used Americolor “red red” and “electric blue”
- silver star sprinkles There’s an Amazon link for these just below the recipe, though I was able to find them cheaper at my local cake shop!
- luster dust/disco dust Optional, there is also an Amazon link for this below the recipe
Instructions
- Preheat oven to 350F.
- In KitchenAid mixer or with electric hand-mixer beat your butter until well-creamed.
- Add sugar to the mixing bowl and beat with the butter until well combined (about 30 seconds).
- Stir in vanilla extract and salt, stirring until well-combined, and scrape down the sides of the bowl using a rubber spatula to ensure ingredients are well-incorporated.
- Add egg yolk and beat until combined.
- With mixer on medium-low speed, gradually add flour until well-incorporated (you will definitely need to scrape down the sides and the bottom of the bowl several times for this, as the mixture is fairly dry and crumbs tend to settle at the bottom of the bowl).
- Transfer dough to clean surface and use your hands to form it into a cohesive ball.
- Flatten into a disk (about 1″ thick), cover with clear wrap, and chill for 15 minutes.
- Once dough has chilled, transfer it to a clean, lightly floured surface and use a lightly floured rolling pin to roll out to about 1/4″ thickness.
- Lightly flour your cookie cutters and cut out your shapes, transferring them to ungreased cookie sheet.
- Once you have cut out all of the shapes that you can, be sure to re-combine the scraps and roll out and cut out again to get the maximum number of cookies from your dough.
- Bake on 350F for 10-12 minutes (longer if you are using larger cookie cutter) and allow cookies to cool completely before dipping.
- In a large bowl, combine sifted powdered sugar, 3 Tbsp milk, and light corn syrup. Whisk until smooth. If mixture is too dry, add additional milk, one teaspoon at a time until mixture can be stirred.
- Stir in extracts.
- Glaze should be thick, to test that it is the right consistency drop a few droplets on top of a test cookie. If the glaze remains stiff, it needs to be thinned. If it runs off the cookie, it is too thin and needs more powdered sugar. If it settles down smoothly, it is just right.
- Divide glaze into four small bowls.
- Working with one bowl at a time, use a toothpick (a different toothpick for each color) and dip it into the food coloring bottle and then into the glaze. You want a small dot of food coloring (see video).
- Drag a toothpick through the food coloring and glaze until it is prettily swirled/marbled.
- Holding your cookie at the base, dip the surface of each cookie into the glaze (take a look at your first cookie — are you satisfied with the pattern? Adjust whorls with additional food coloring as needed).
- Once the first bowl runs out or the colors become too muddled together from dipping, move onto your next bowl of food coloring (you will probably need to stir first before adding your coloring, as the surface may have begun to harden).
- Repeat steps 5-7 until all cookies have been dipped. Allow them to harden at least 30 minutes (may take longer) for glaze to set. Enjoy!
- Store uneaten cookies in an airtight container at room temperature.