
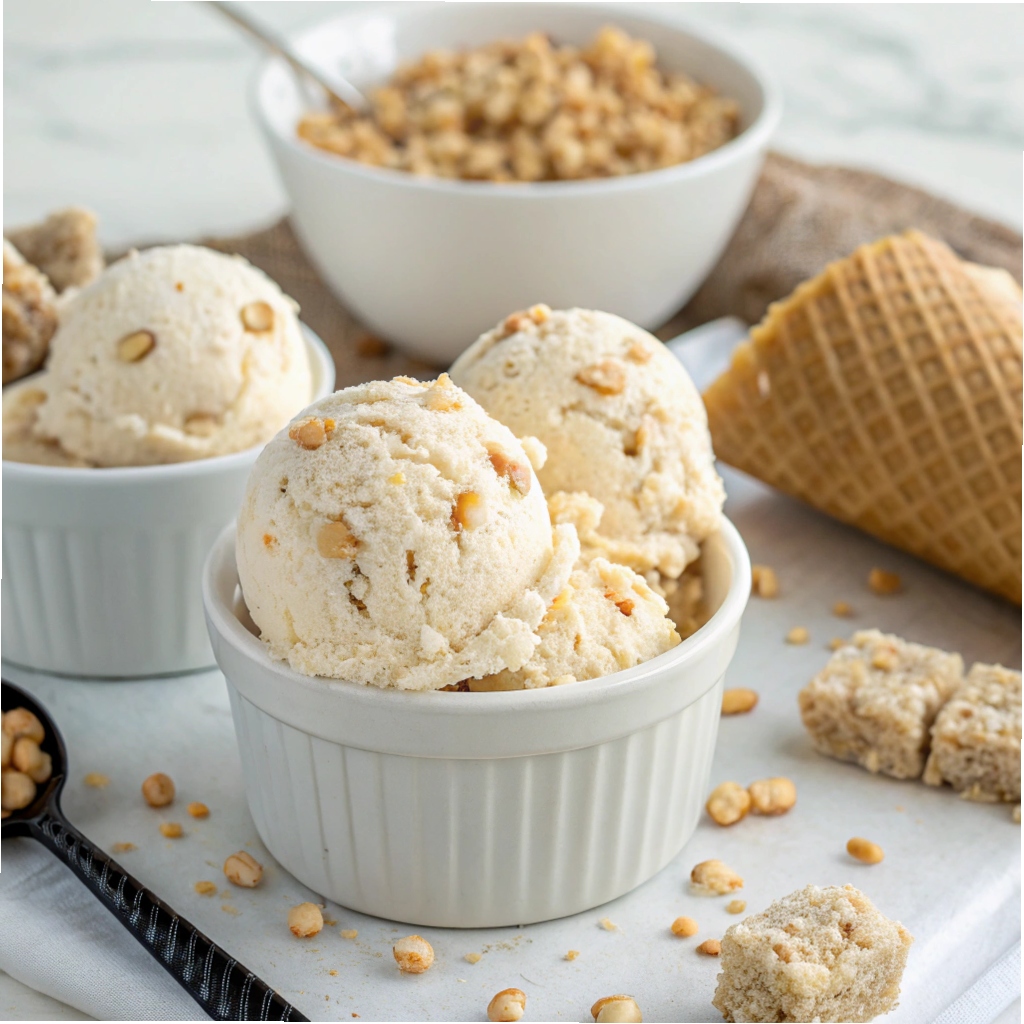
This Rice Krispie Treat Ice Cream (No Churn) is a dreamy fusion of childhood nostalgia and creamy indulgence. With just 30 minutes of prep, you’ll create a dessert that combines the crunchy, buttery charm of Rice Krispie treats with the velvety smoothness of homemade ice cream. The contrast of textures—crispy cereal clusters melting into rich, sweet cream—is pure magic. Perfect for summer gatherings or a cozy treat, it’s a no-fuss recipe that delivers big on flavor.
After a quick 6-hour freeze, you’ll be rewarded with a dessert that’s decadently creamy yet delightfully playful. Each bite is a balance of sweet, toasty marshmallow and cool, luscious ice cream, making it irresistible for all ages. Whether you’re a dessert enthusiast or a casual cook, this recipe is a guaranteed crowd-pleaser that’s as fun to make as it is to eat.
Gather Your Ingredients
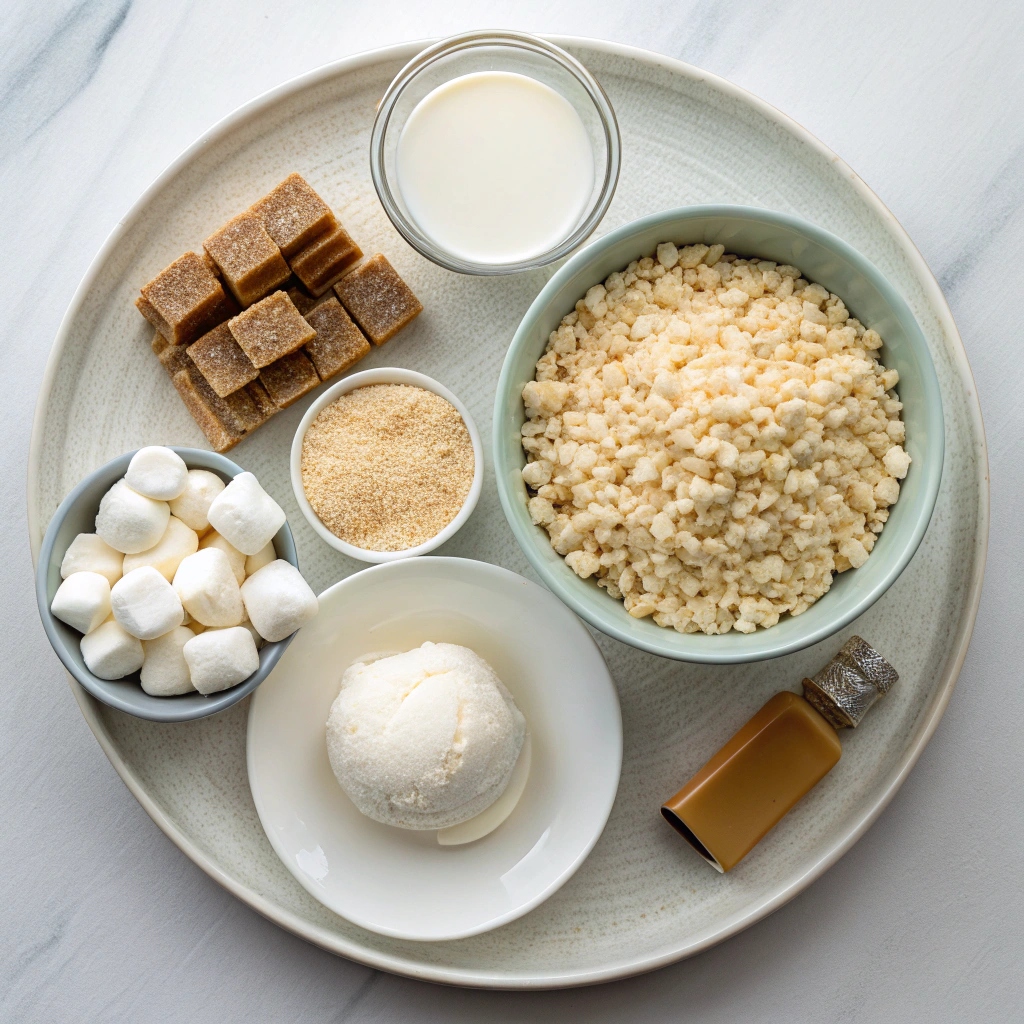
- Rice Krispies:
- ▢ 2 Tbsp Butter
- ▢ 12 Marshmallows (regular size)
- ▢ 2 cups Crisped rice cereal
- Ice Cream:
- ▢ 1 can Sweetened condensed milk
- ▢ 7 oz Marshmallow fluff
- ▢ ½ cup Milk (any type you prefer)
- ▢ ½ tsp Vanilla extract
- ▢ 2 cups Heavy cream (cold)
Step-by-Step Instructions
- Prepare the Rice Krispies:
- Line a cookie sheet with wax paper and set aside.
- In a small/medium-sized saucepan, heat the butter over medium-low heat until completely melted.
- Add marshmallows and stir until completely melted.
- Stir in the crisped rice cereal until well combined.
- Pour the cereal mixture onto the prepared cookie sheet and spread it thin (it’s fine if it’s not a solid sheet and is stringy).
- Allow the Rice Krispies to cool completely.
- Once cooled, break into small pieces (think: the size of a cookie dough bite in cookie dough ice cream, or smaller).
- Prepare the Ice Cream Base:
- In a medium-sized bowl, stir together the sweetened condensed milk and marshmallow fluff until completely combined.
- Add the milk and vanilla extract, and stir until combined.
- Whip the Heavy Cream:
- In a separate bowl, using a hand mixer or stand mixer with a whisk attachment, beat the heavy cream until stiff peaks form.
- Combine Everything:
- Gently fold the marshmallow/condensed milk mixture into the whipped heavy cream until completely combined (be sure to scrape the sides and bottom of the bowl).
- Take about ¾ of your Rice Krispie pieces (it doesn’t have to be exact) and stir them into the ice cream mixture.
- Chill and Serve:
- Pour the mixture into a 9×5 bread pan (line it with wax paper or parchment paper to protect the nonstick coating from the ice cream scoop).
- Sprinkle the remaining Rice Krispie pieces on top.
- Cover with cling wrap and refrigerate overnight.
- Serve and enjoy your Rice Krispie Treat Ice Cream!
Fun Topping Ideas to Elevate Your Ice Cream
Take your Rice Krispie Treat Ice Cream to the next level with creative toppings! Try drizzling melted chocolate or caramel sauce over each serving for a decadent touch. For a crunchy contrast, sprinkle crushed graham crackers or mini chocolate chips on top. If you’re feeling adventurous, add a dollop of whipped cream and a cherry for a classic sundae vibe.
Perfect Pairings for Serving
This no-churn ice cream pairs wonderfully with warm desserts like brownies or freshly baked cookies. Serve it alongside a slice of pie for a delightful dessert combo. For a fun twist, scoop it into waffle cones or bowls and let everyone customize their own toppings for a DIY ice cream bar experience.
Storage Tips for Maximum Freshness
Store your ice cream in an airtight container or keep it in the bread pan covered tightly with cling wrap. It will stay fresh in the freezer for up to 2 weeks. To prevent ice crystals, press a piece of parchment paper directly onto the surface before sealing. When serving, let it sit at room temperature for 5 minutes to soften slightly for easier scooping.
Quick Variations to Mix It Up
Experiment with different flavors by swapping the marshmallow fluff for peanut butter or Nutella. Add a handful of mini M&Ms or chopped nuts to the ice cream mixture for extra texture. For a fruity twist, fold in crushed freeze-dried strawberries or a swirl of raspberry jam before freezing.
Time-Saving Hacks for Busy Bakers
To save time, prepare the Rice Krispie mixture a day ahead and store it in an airtight container. Use pre-made Rice Krispie treats instead of making them from scratch—just chop them into small pieces. If you’re short on freezer time, place the ice cream in the coldest part of your freezer and check after 4 hours—it might be ready sooner!
Rice Krispie Treat Ice Cream (No Churn)
Ingredients
Method
- Line a cookie sheet with wax paper and set aside.
- In a small/medium-sized saucepan, heat the butter over medium low heat until completely melted.
- Add marshmallows and stir until completely melted.
- Stir in cereal until combined.
- Pour cereal mixture onto prepared cookie sheet and spread thin (it’s fine if it’s not a solid sheet and is stringy).
- Allow the rice krispies to cool completely.
- Once Rice Krispies have cooled, break into small pieces (think: the size of a cookie dough bite in cookie dough ice cream, or smaller) and then prepare your ice cream.
- In a medium-sized bowl, stir together condensed milk and marshmallow fluff until completely combined.
- Add milk and vanilla extract and stir until combined.
- In a separate bowl, using a hand mixer or stand mixer with whisk attachment, beat the heavy cream until stiff peaks form.
- Fold the marshmallow/condensed milk mixture into the heavy cream until completely combined (be sure to scrape the sides and bottom of the bowl).
- Take about ¾ of your rice krispie pieces (it doesn’t have to be exact) and stir into the ice cream mixture.
- Pour into a 9×5 bread pan (I line mine with wax paper or parchment paper to protect my nonstick coating from the ice cream scoop) and sprinkle with the remaining rice krispie pieces.
- Cover with cling wrap and refrigerate overnight.
- Serve and enjoy!